Wingfoil training
in Dahab for beginners
Stages, realistic timelines and first flights: a clear path from a stable SUP board to independent riding.
Your way to foiling on your own
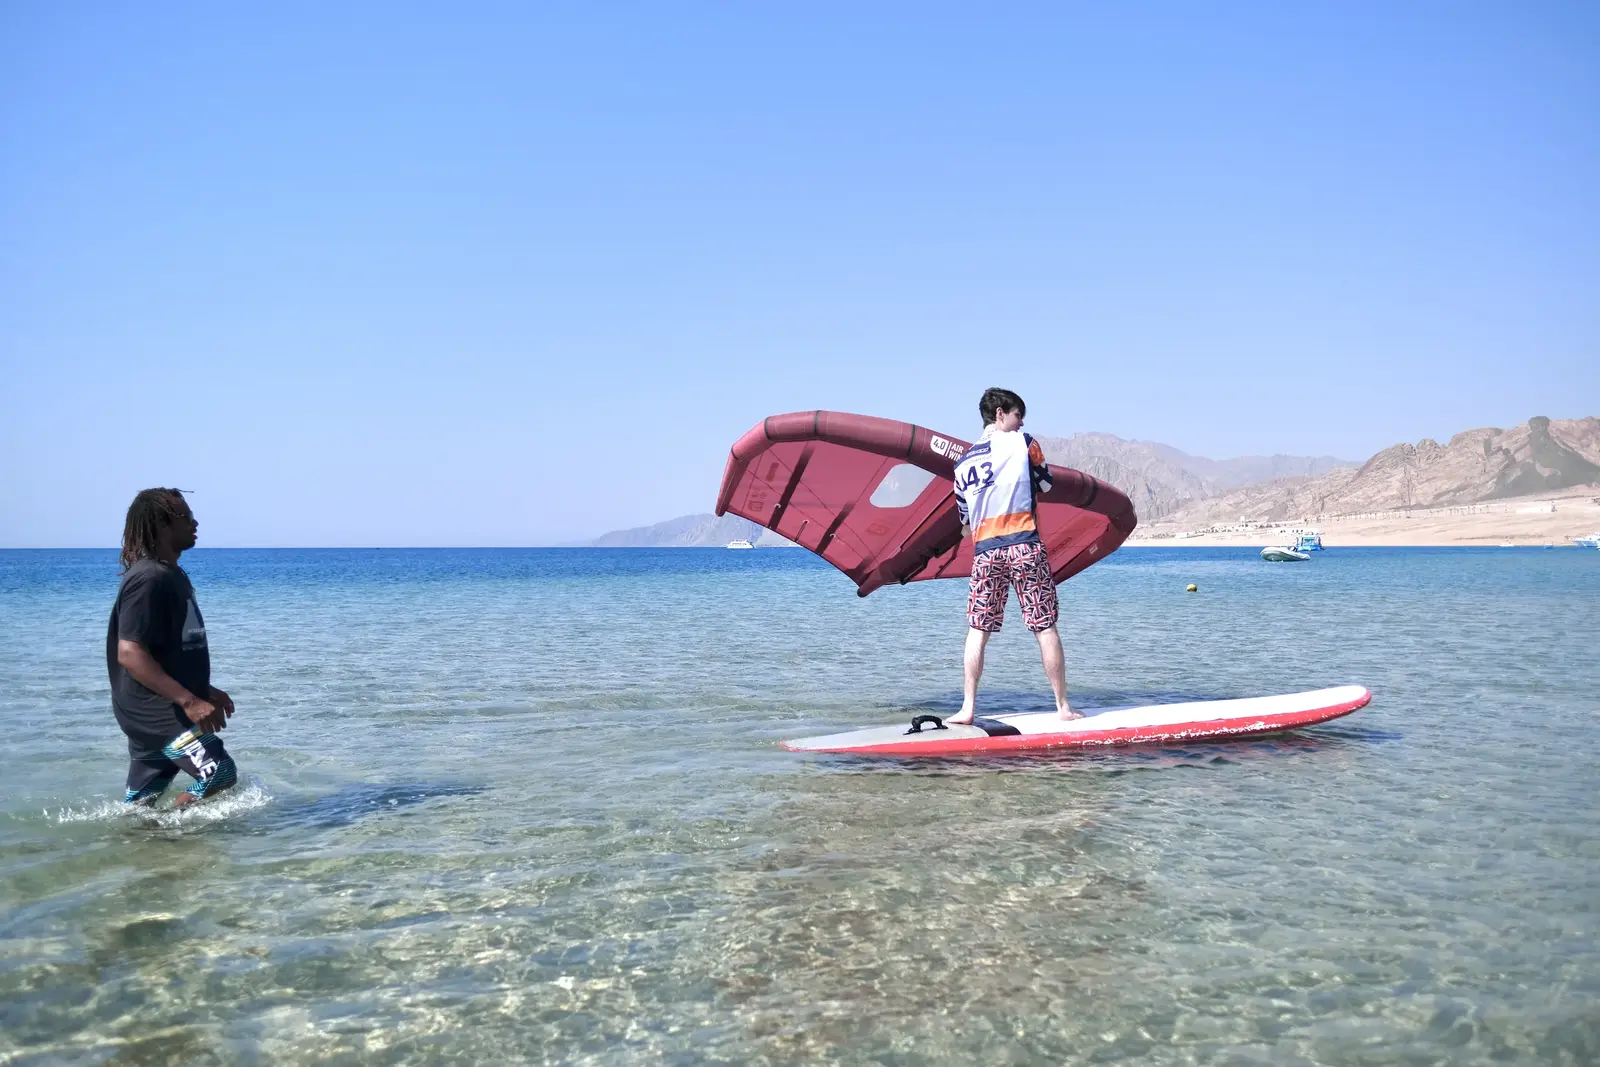
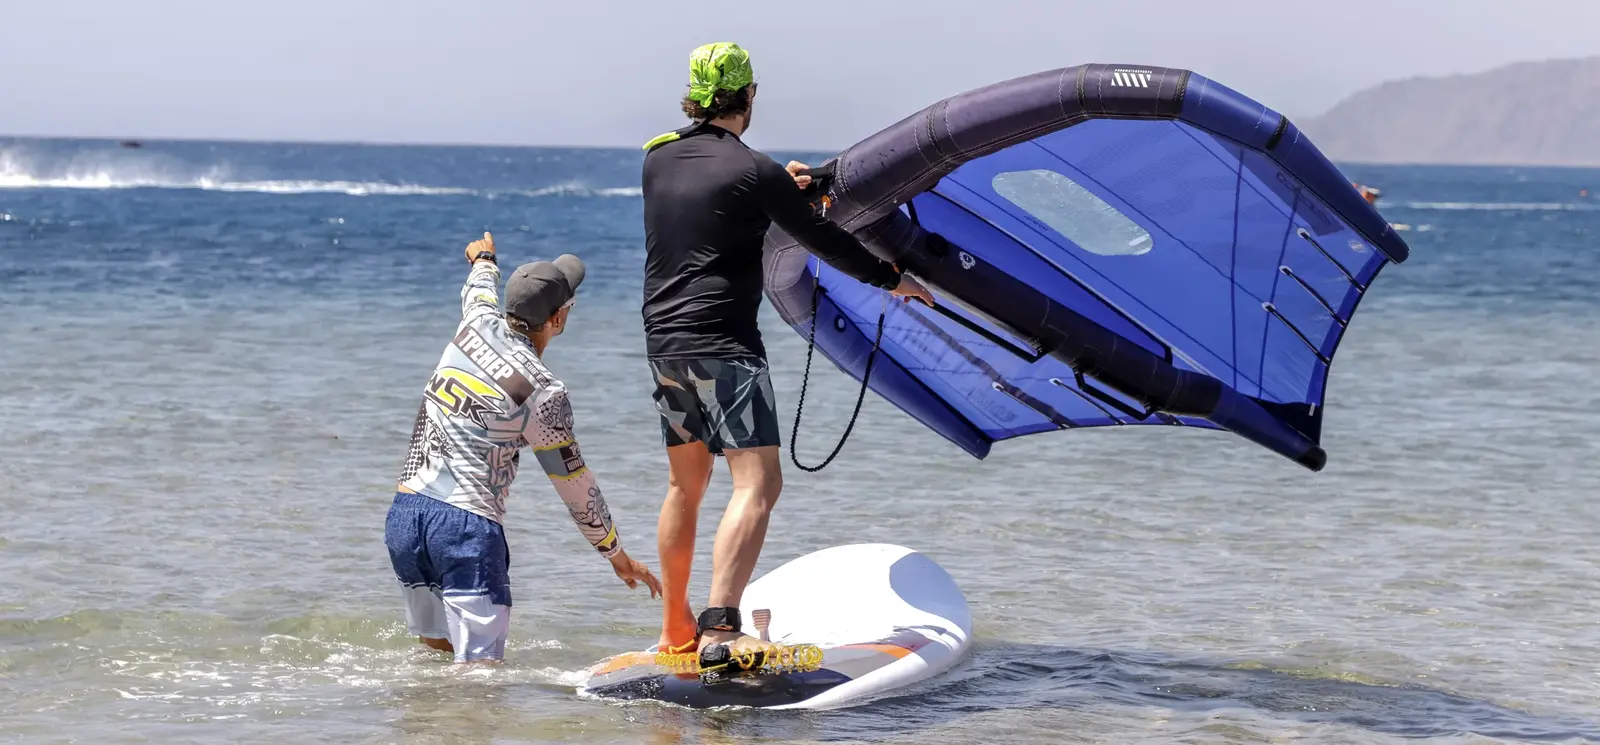
Step 1. Wing + daggerboard (SUP)
Lesson with an instructor. After the lesson, you can continue practising on your own.
Learn to control the wing and stay on course. We practise until you can confidently return to the center.
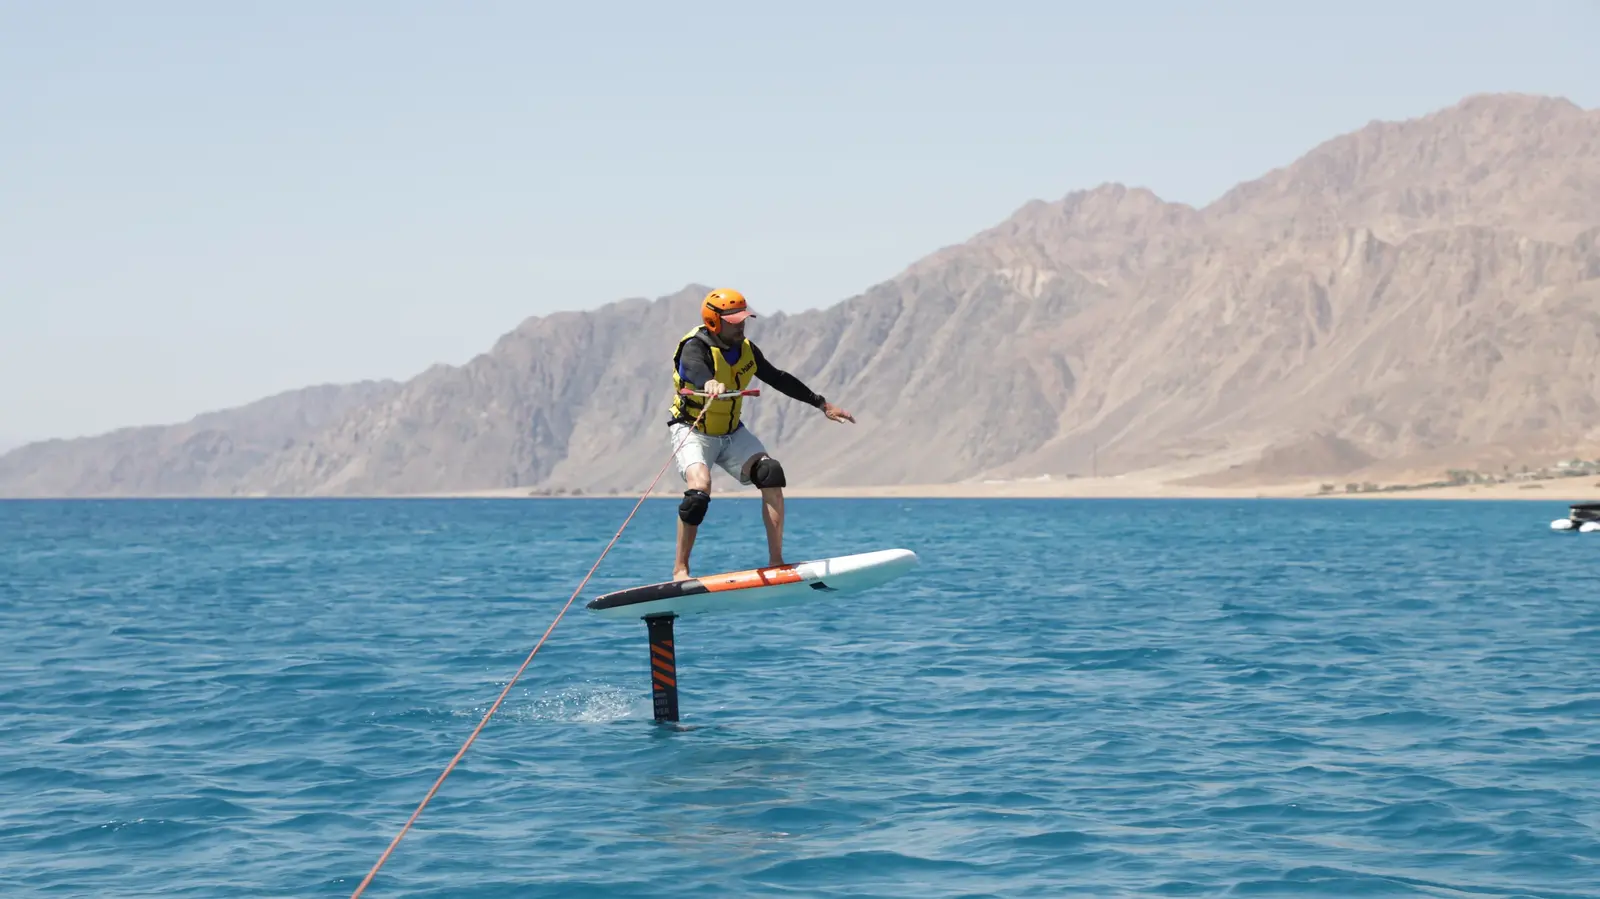
Stage 2. Foil board + boat
Lesson with an instructor.
Feel the balance and understand how the foil works. This step is complete when you can stay on foil confidently for a short distance.
Step 3. Wing + foil together
Lesson with an instructor. After the lesson, you can continue practising on your own.
Bring wing and foil control together: keep your balance while controlling the power of the wing.
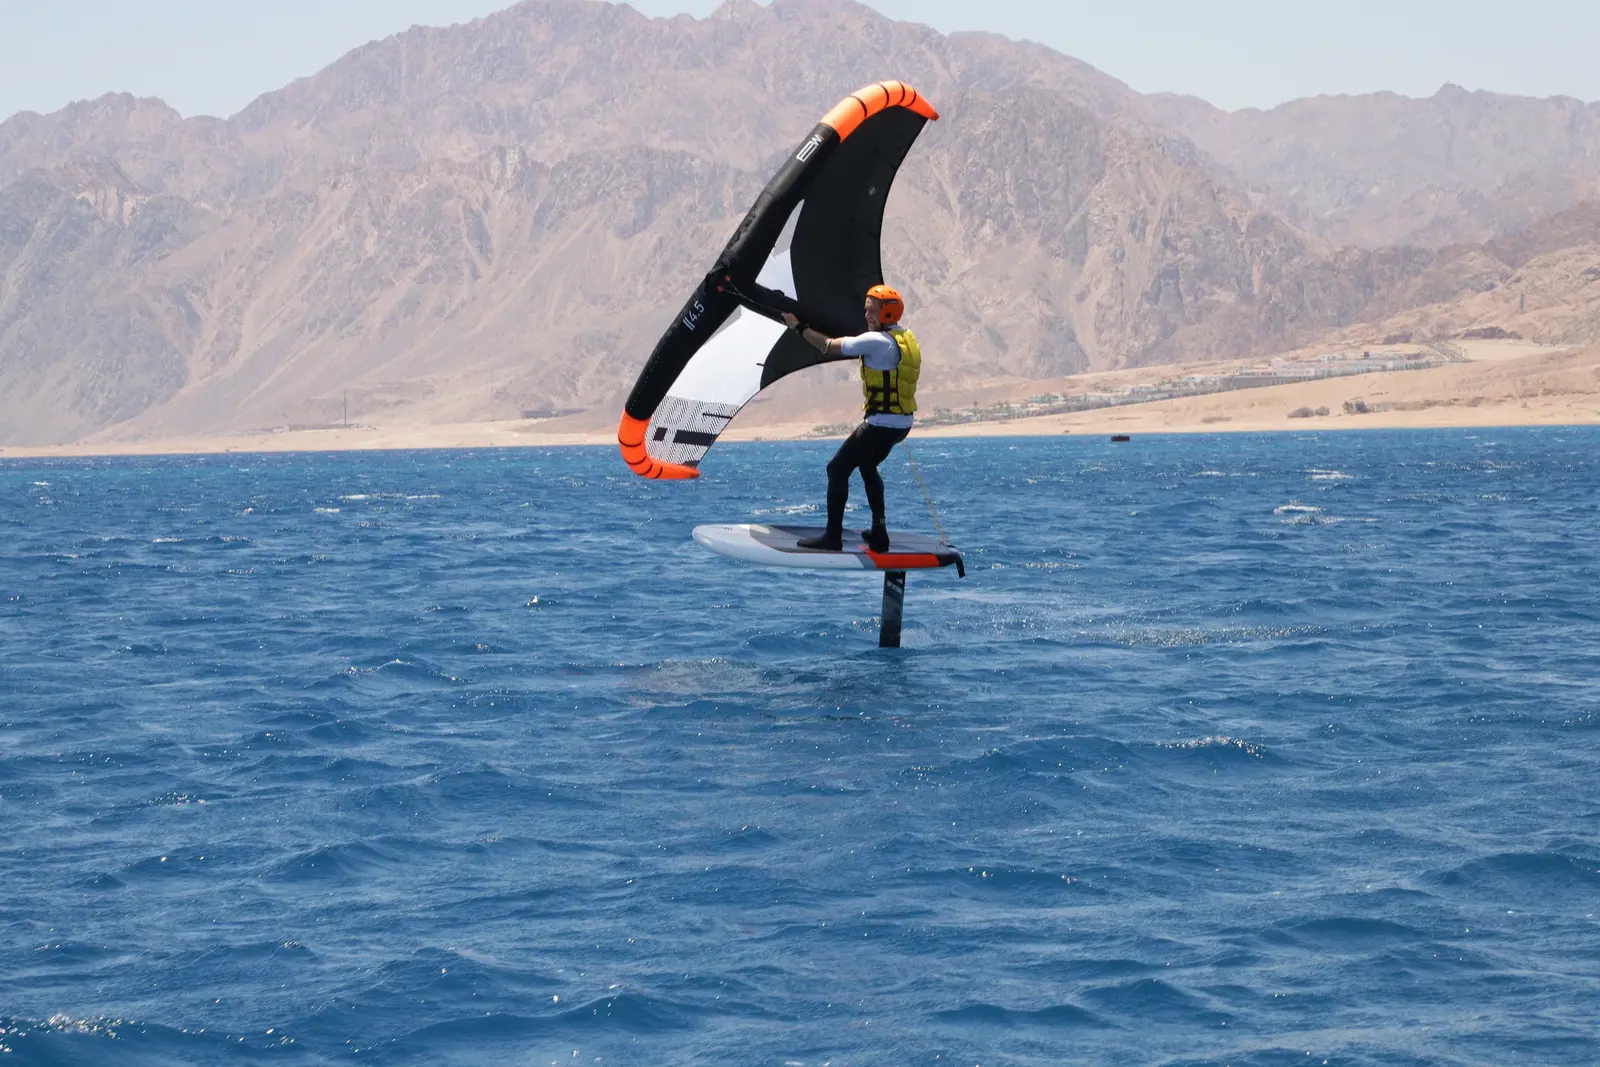
Practice. Your first solo flights
Instructor support when needed.
Practise stable foiling, gradually reduce board volume and start working on riding upwind.
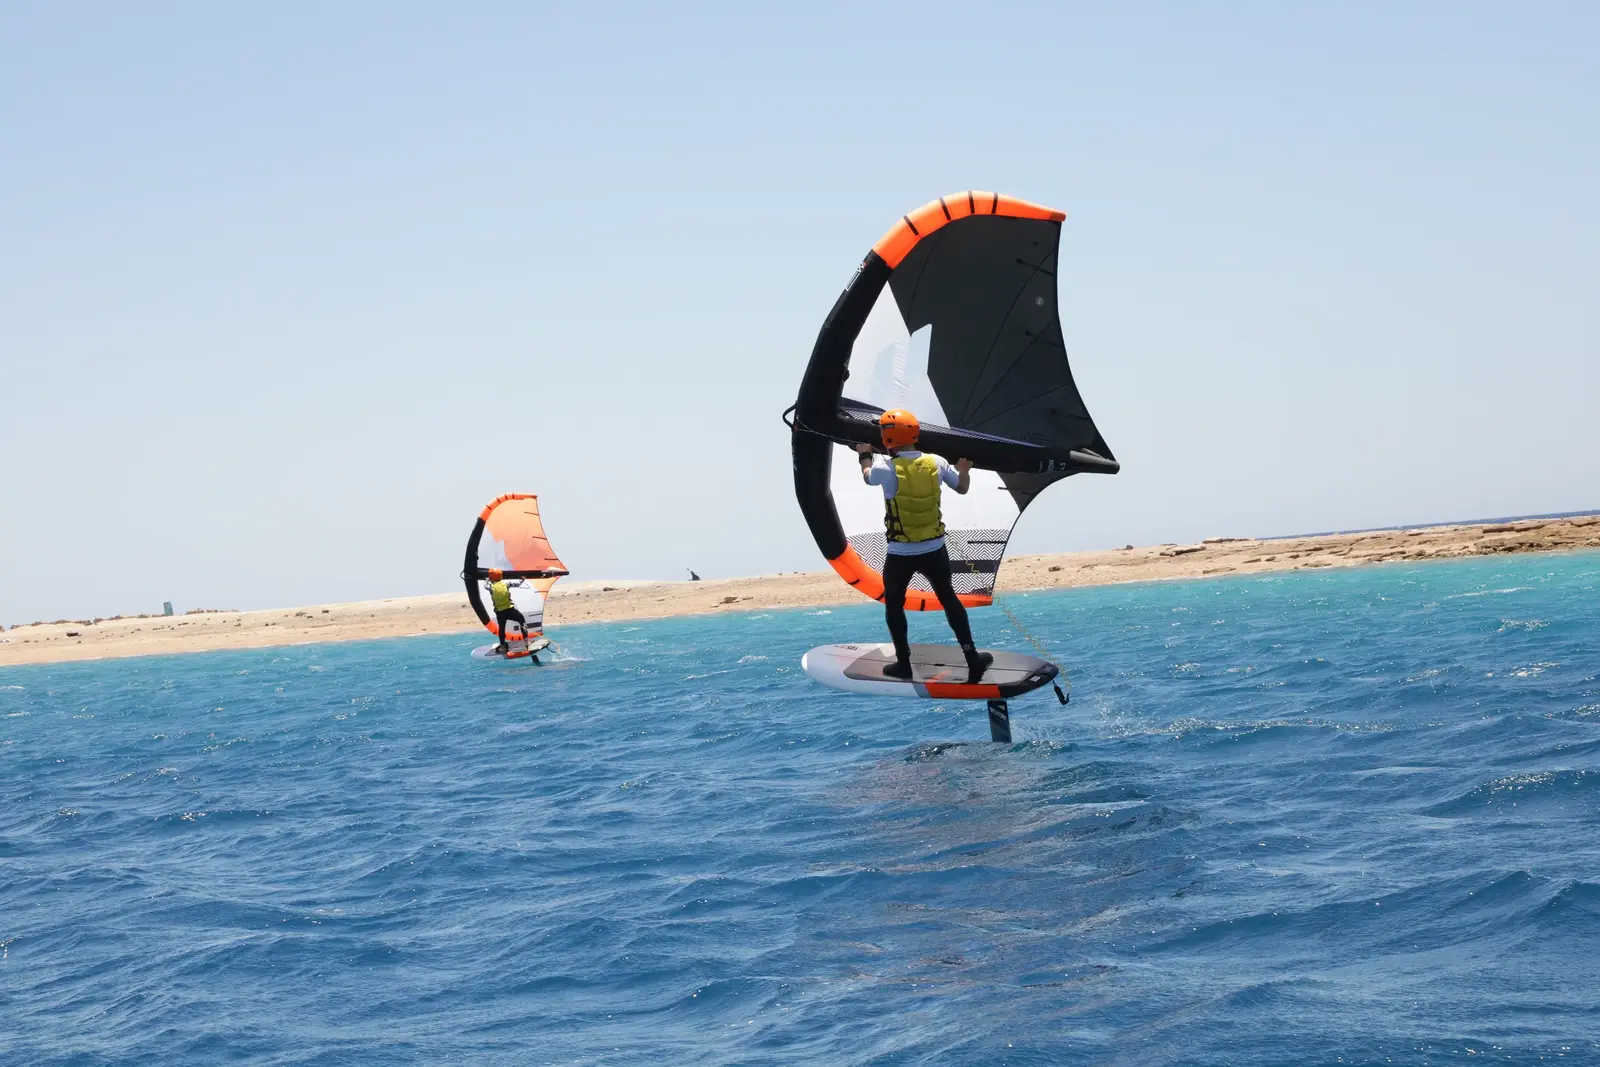
Stable flight. Free riding
Practice on your own or lessons with an instructor, depending on your goals.
Stay on course and return to shore. Move to a smaller board, introduce footstraps and progress to more advanced gear.
Everyone learns at their own pace. Every student starts with a different level of experience — or no experience at all. The timeline shows the order of learning, not a strict schedule.
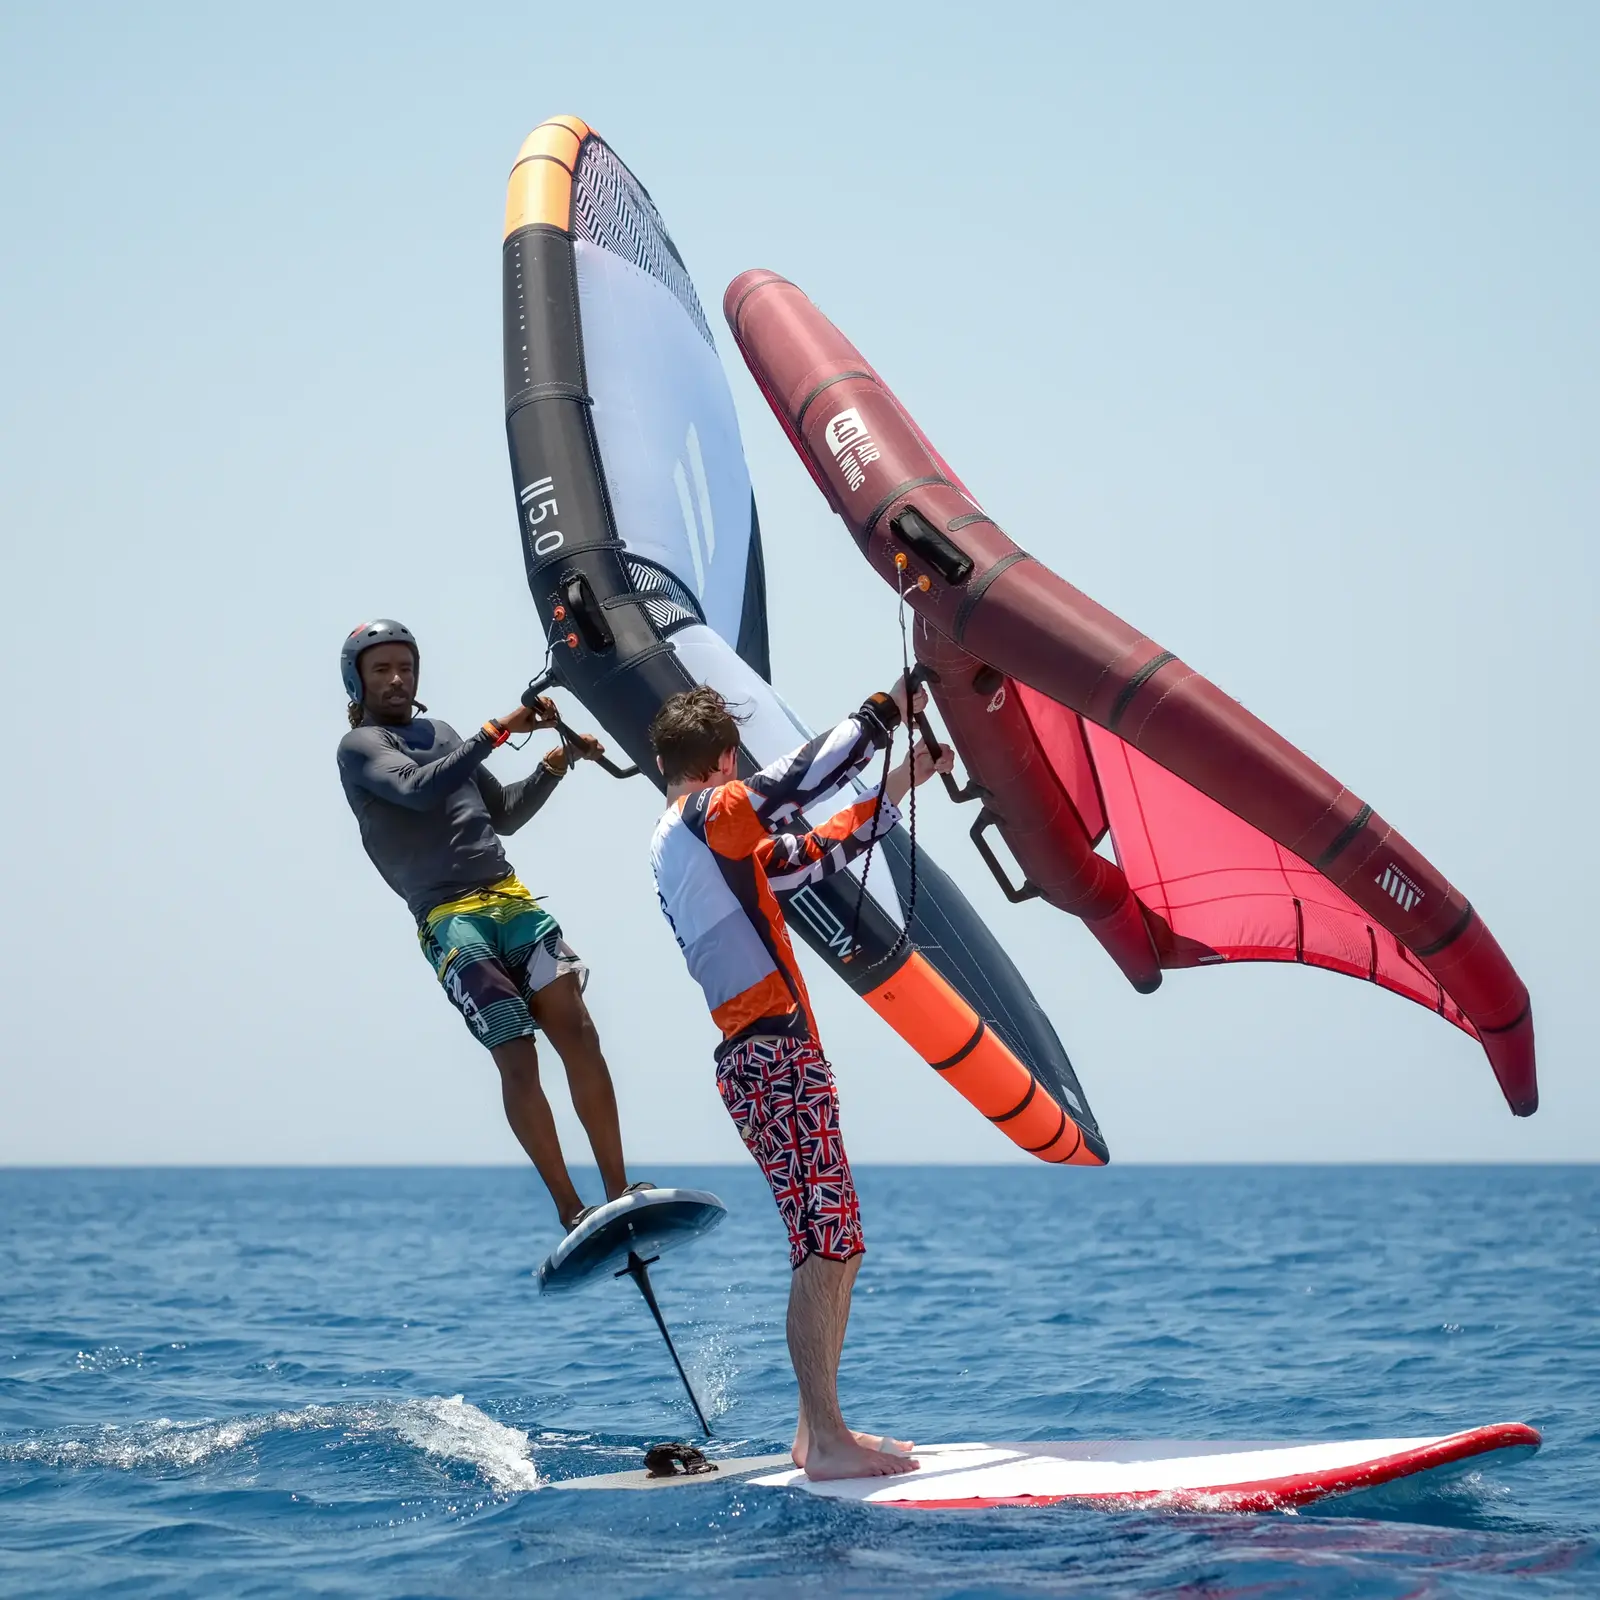
The recipe for a smooth start in wingfoil
A smooth start in the world of wingfoiling
Wingfoil only looks difficult from the outside. In reality, it’s much simpler. The key is not to try to learn everything at once. That’s why our teaching method is built step by step.
Wingfoil combines two skills that eventually work together. At first, it may feel like there is too much to control. But each part of your body has its own job.
— Your hands, shoulders and upper body control the wing. They control the power, speed and direction, helping you stay on course.
— Your legs control the foil. They control your balance and the height of your flight.
First — the hands. Learn to control the wing. Then — the legs. Learn to control the foil. Finally — bring the two skills together.
Both skills soon start to feel natural. And from that point, the real riding begins: more practice, more flying, more confidence.
Stage 1
Wing + daggerboard (SUP)
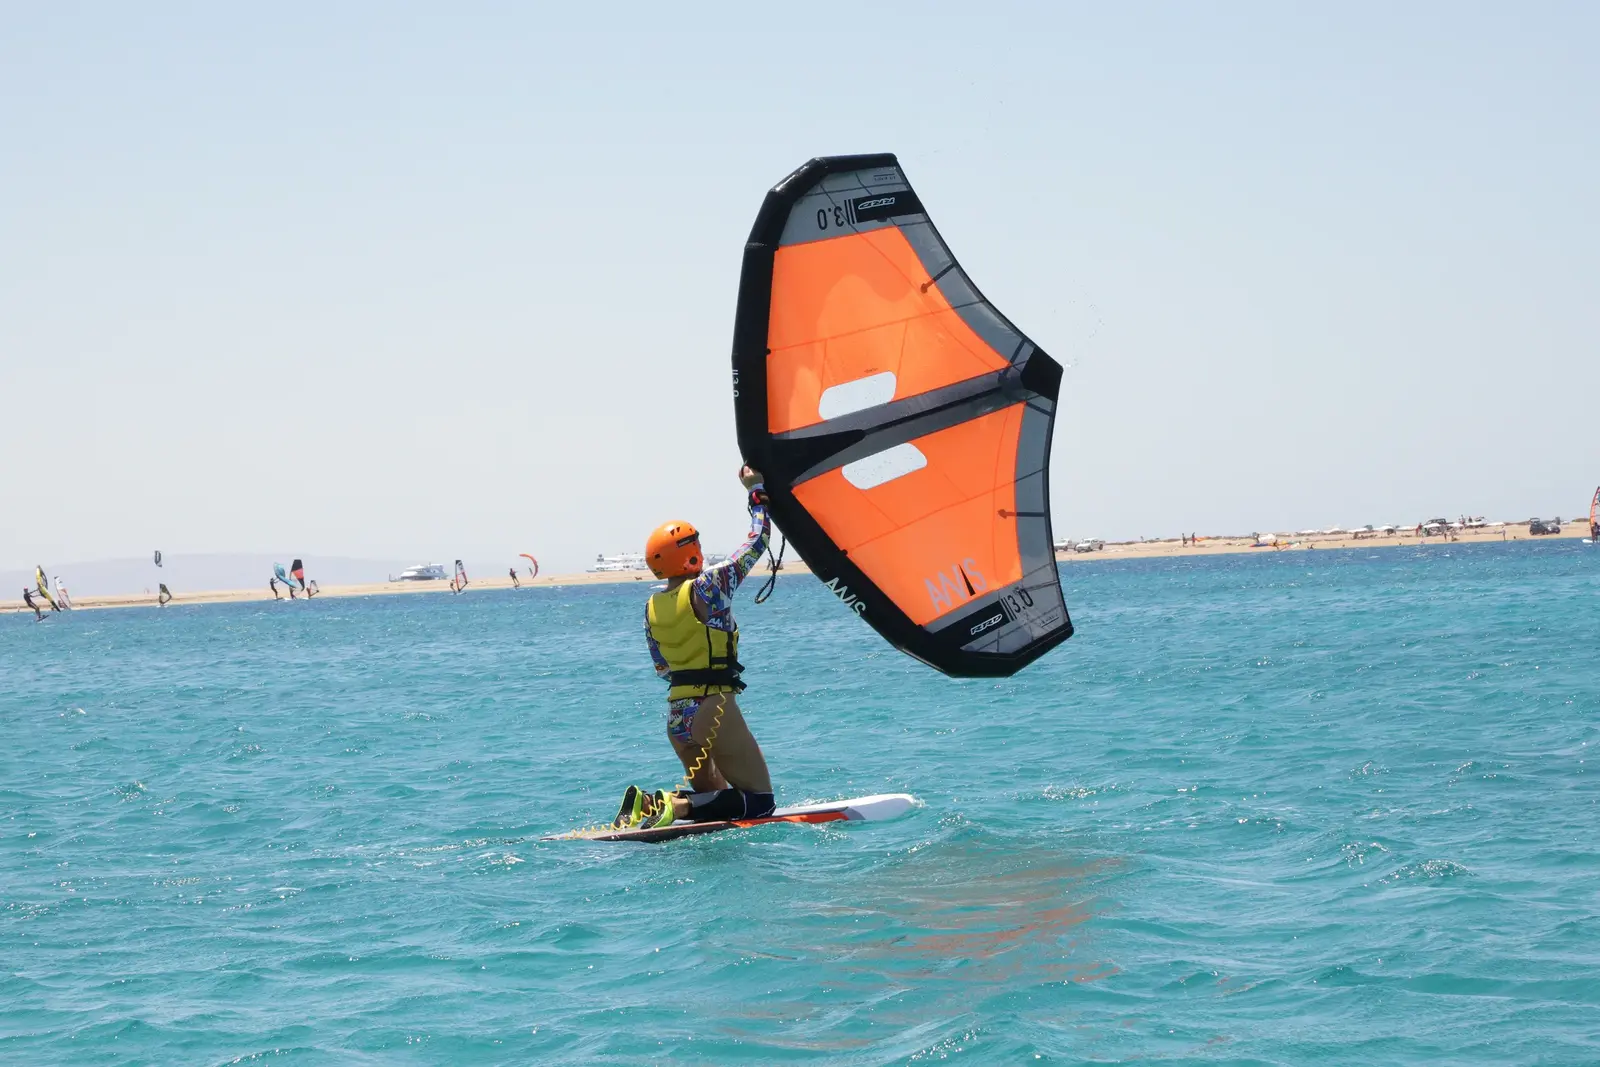
We use a wide and stable board. It is similar to a SUP, but it has a daggerboard. The daggerboard helps you ride upwind, so you can focus only on the wing.
At this step, your hands, shoulders and upper body control the wing. Your feet stay on a stable board and need very little attention.
In your first lesson, you’ll learn to:
— hold and control the wing;
— find the right wing angle to the wind;
— stay on course;
— avoid drifting downwind.
The main goal is to ride into the lagoon and confidently return to the center.
Good wing control is the base for everything that comes next. Don’t fight the wind. Keep the wing at the right angle.
The less force you use, the easier the wing is to control.
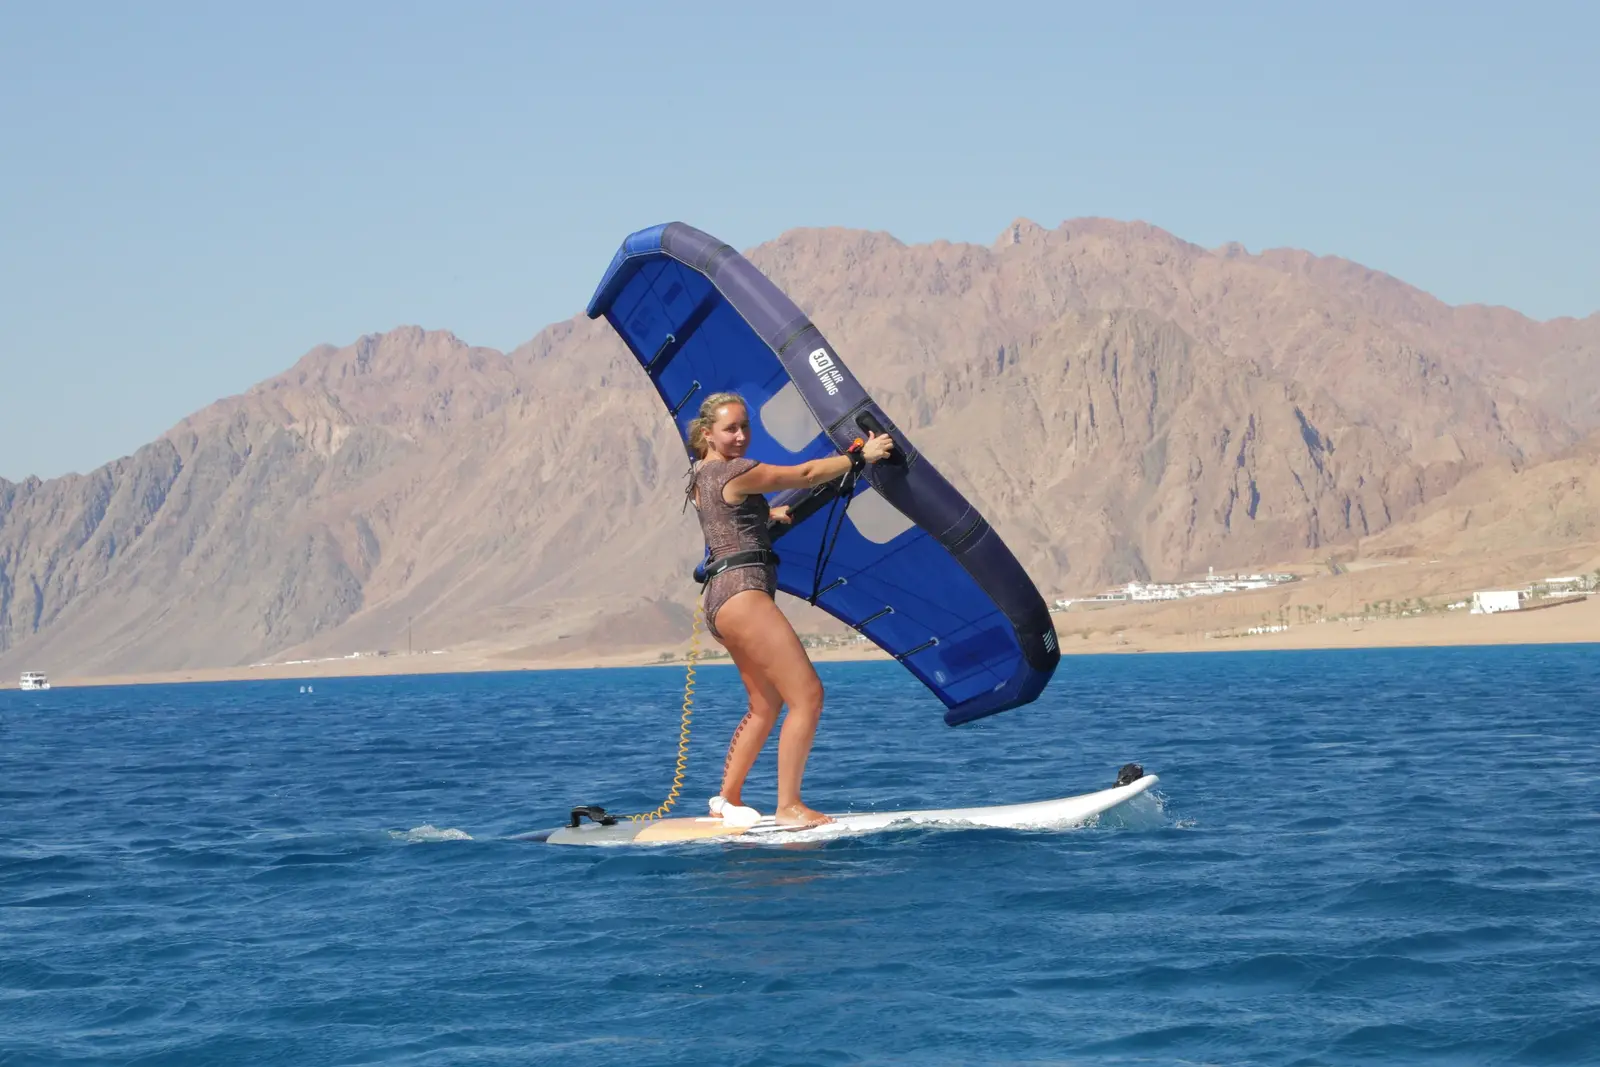

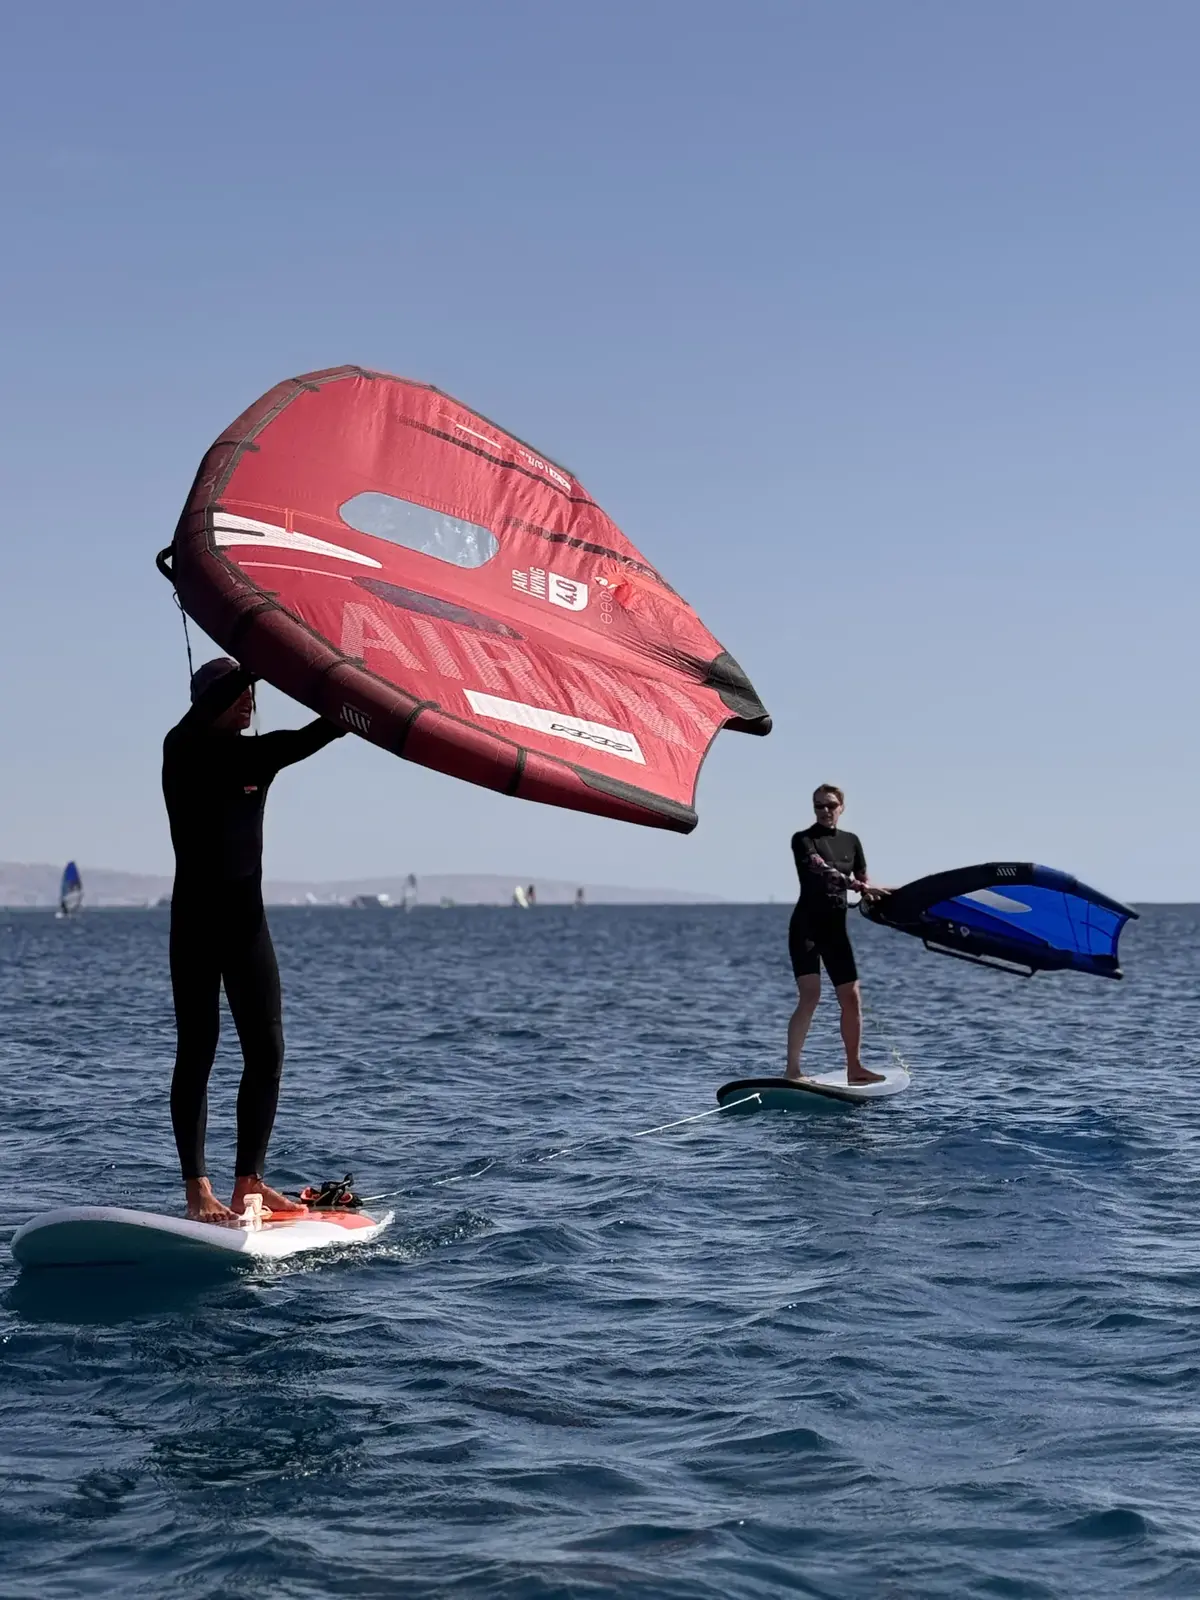
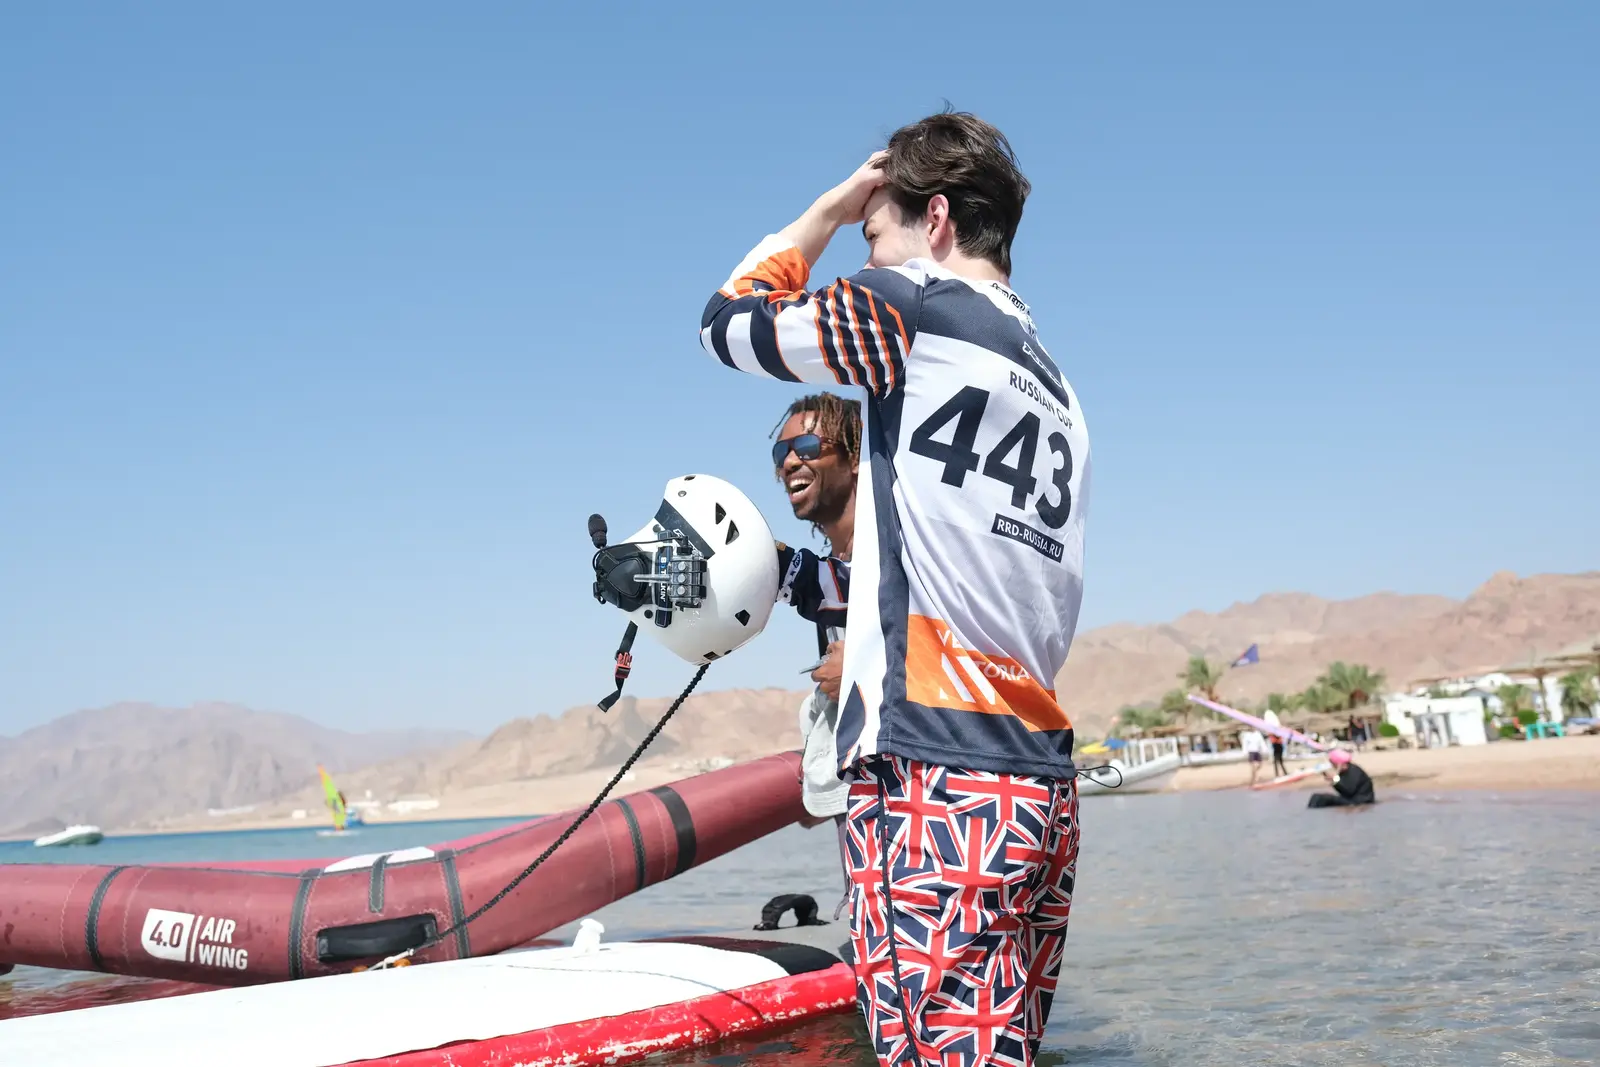
The lesson lasts 1 hour
The first 20–30 minutes are on the beach. The instructor explains the basics: how to hold the wing, keep it at the right angle to the wind and return it to the correct position.
Then we move to the water. The instructor stays with you throughout the lesson, gives you tips and helps you correct mistakes.
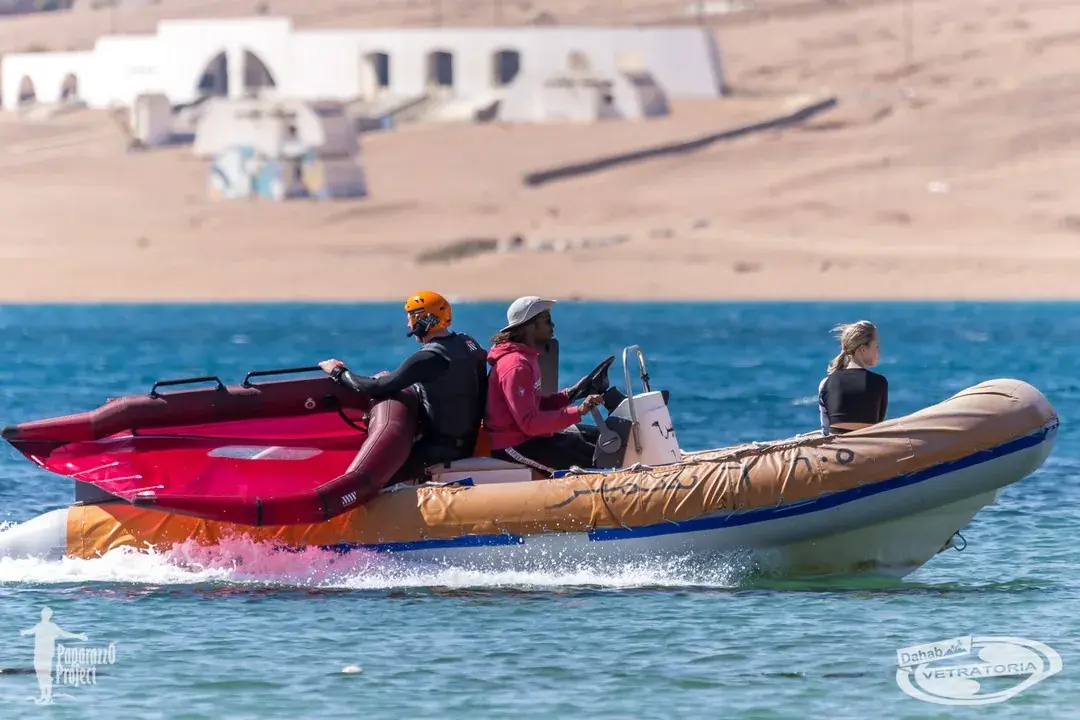
If needed, our rescue boat will pick you up and bring you back to the center. This is a normal part of the learning process.
Useful details
For training, we use stable windsurf daggerboards in S, M and L sizes.
For some kids’ lessons, we use a special 200-liter inflatable board with three fins.
Lessons take place in a lagoon with clear water, so you can easily see the bottom.
Rescue boats are always working in the area. They are part of our training and safety system.
If you already have windsurfing experience, 1 hour with an instructor and 1 hour of practice on your own is usually enough to complete this step.
Stage 2
Foil board + boat
This is the most exciting lesson in the whole course.
At this step, you can truly feel what it’s like to fly above the water for the first time.
If you want to know what wingfoiling really feels like, this is the best step to try it.
At this step, we take the wing away and work only with the foil. You focus on your feet, balance and the feeling of flying.
We use a wide 140-liter training board and a large 2400 cm² front foil wing. This equipment is very stable and forgiving. The large foil lifts the board at low speed and makes the flight smooth and easy to control.
The idea is very simple
The entire lesson comes down to one simple principle:
More weight on the back foot — the board goes up.
More weight on the front foot — the board goes down.
This is how you learn to control your flight height and balance your weight between both feet.
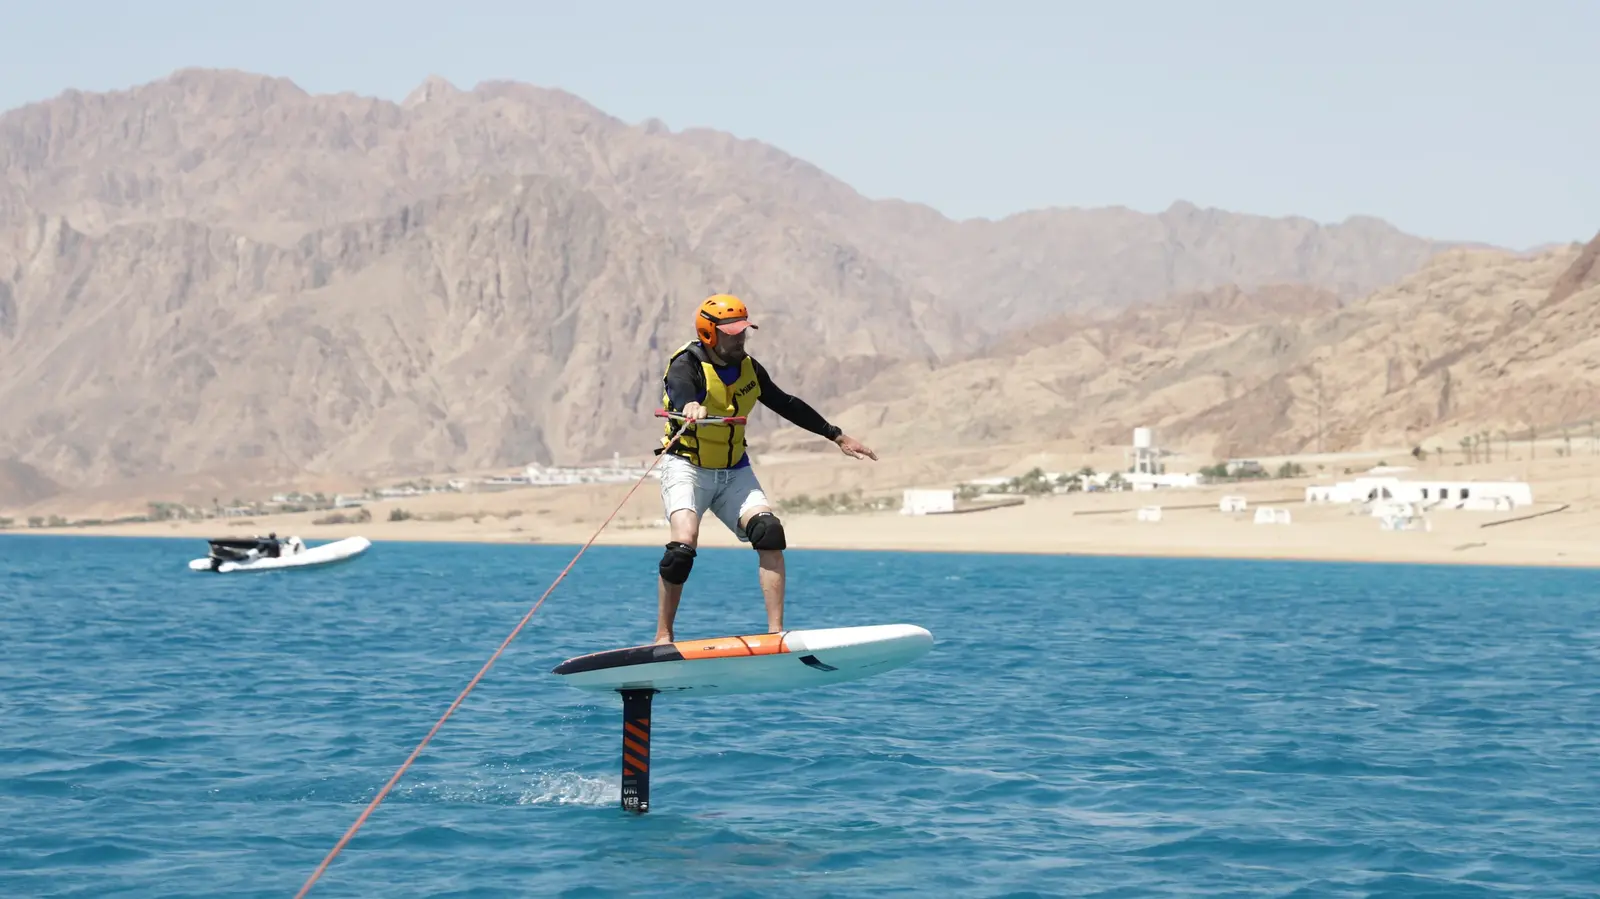
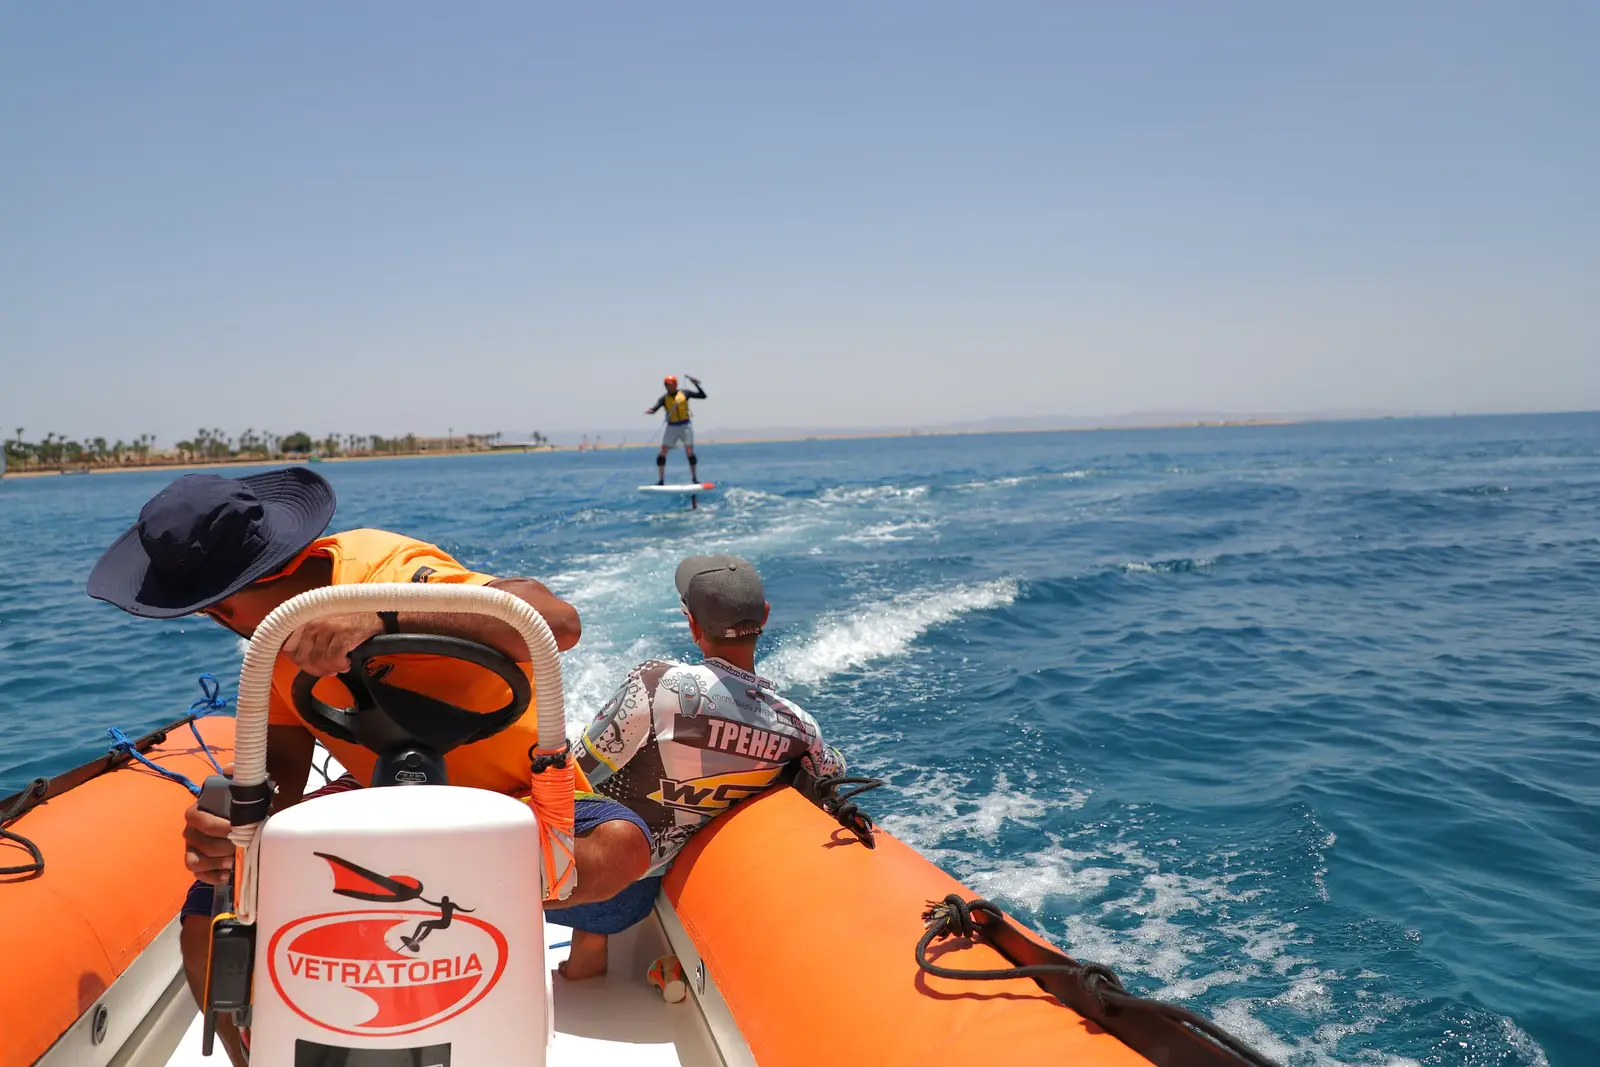
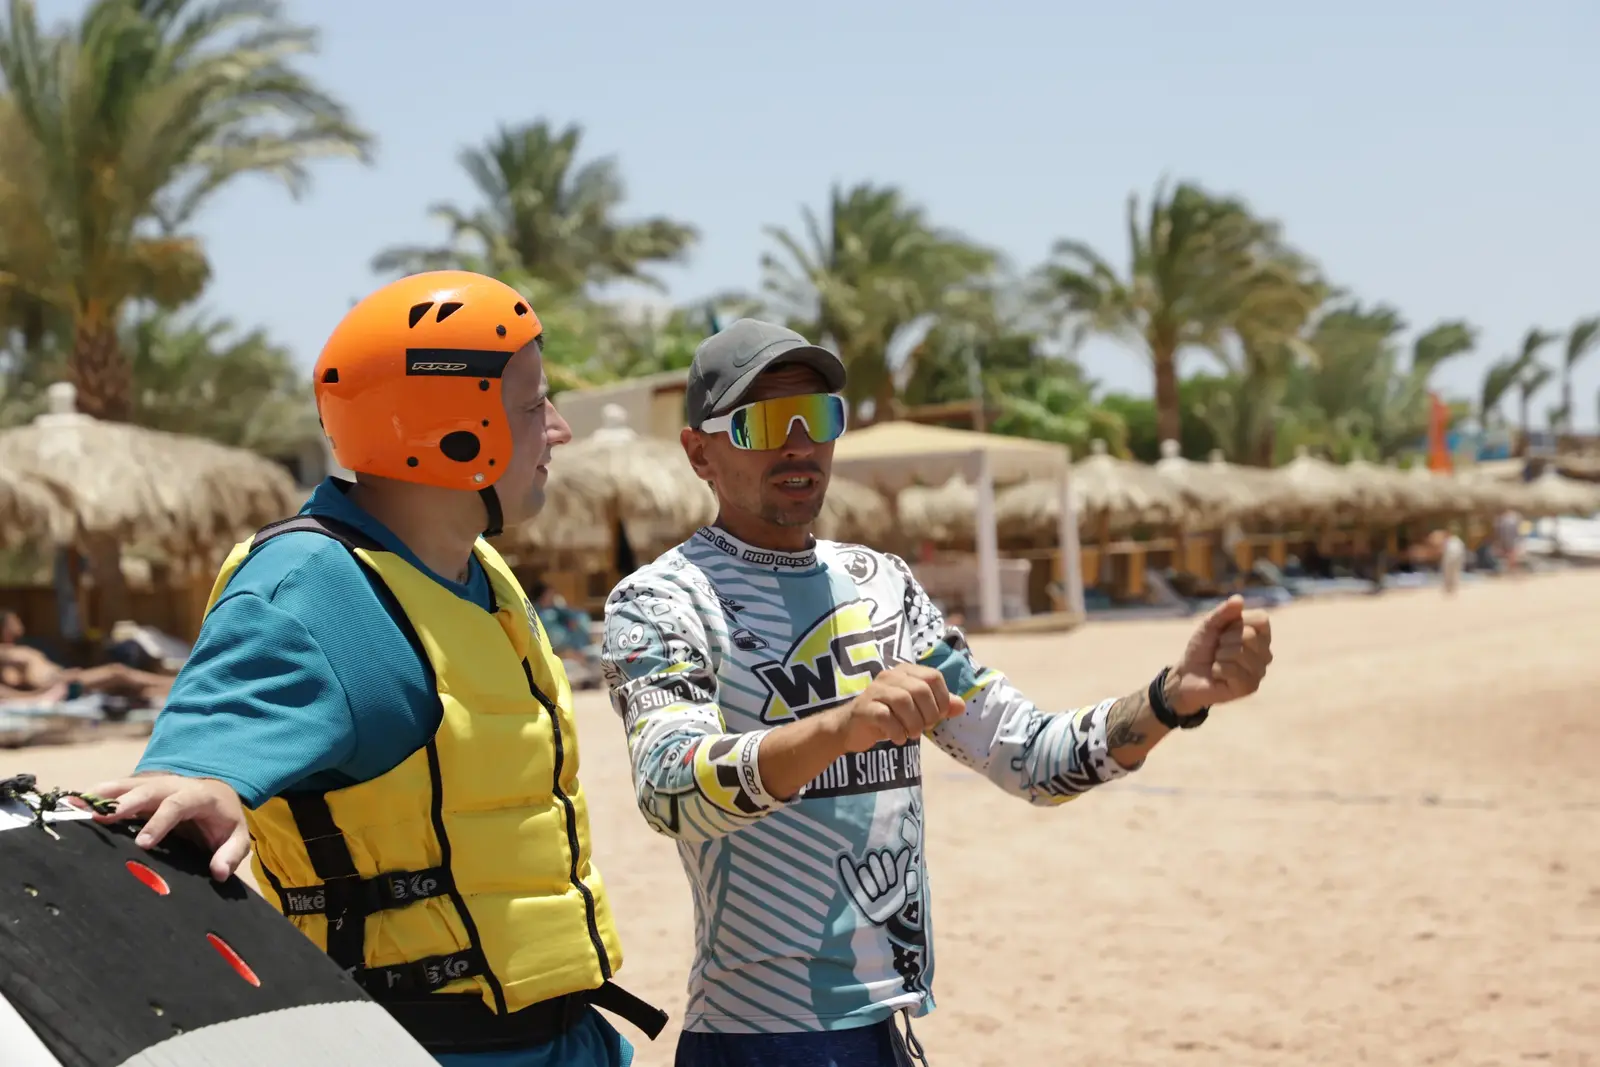
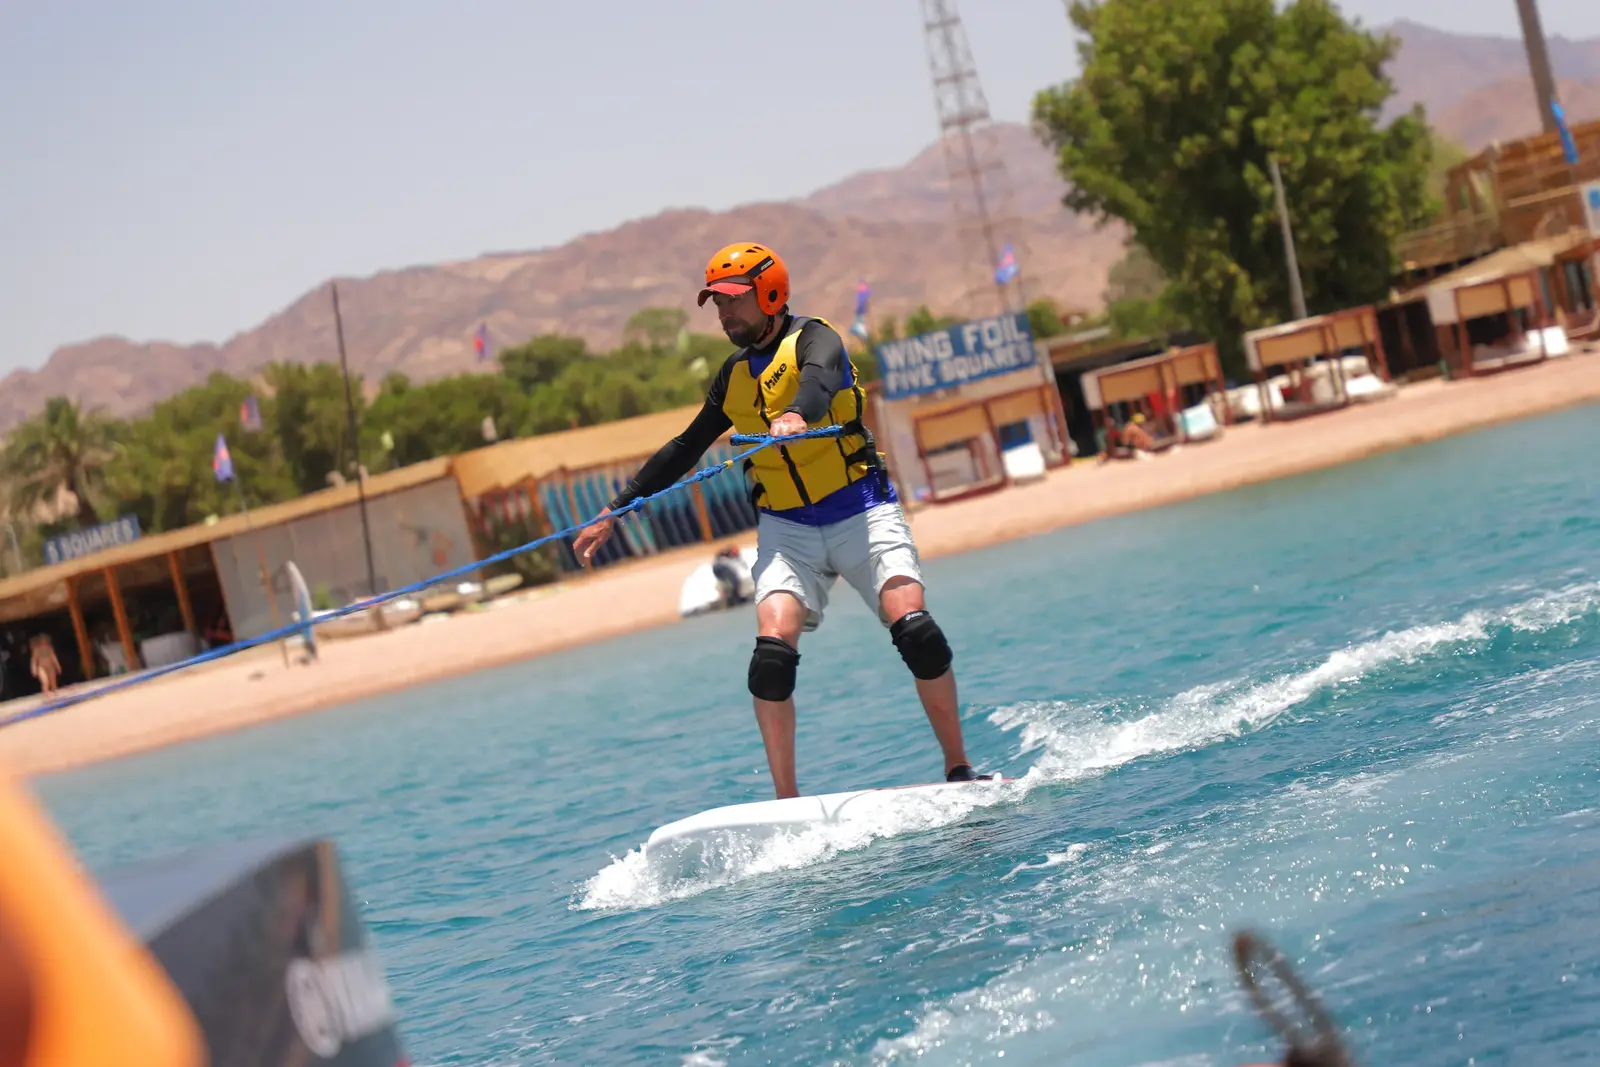
In most cases, 30–60 minutes of total practice time is enough to understand how to control the foil, find your balance and make your first stable flights above the water.
Why you don’t need to be afraid of speed
During the lesson, the boat moves slowly.
The board gets on foil because of the steady pull from the boat and the large training foil — not because of high speed. So the ride feels calm and comfortable.
The most important thing
At this step, we teach your legs to react automatically.
You don’t need to keep looking at the board or at your feet. You don’t need to squat or tense your body.
The more relaxed you are, the easier it is to control the foil.
Why it works
The large training foil gives you time to move your weight from the back foot to the front foot.
The flight is smooth, without sudden rises or drops. This helps you feel the balance and build confidence quickly.
Result
By the end of Step 2, most students can already foil a short distance on their own. This is when you first feel what makes wingfoiling so special: lightness, weightlessness and real flight above the water.
You learn to control the foil and your flight height without looking at your feet or bending your body down. This is the key skill for the next step.
When you add the wing, you need to look forward. Your legs should already control the balance and flight height automatically.
How long it takes
One lesson with an instructor lasts 30 minutes.
The exact time depends on your progress. Some students learn this step faster. Others need a little more practice. That is completely normal.
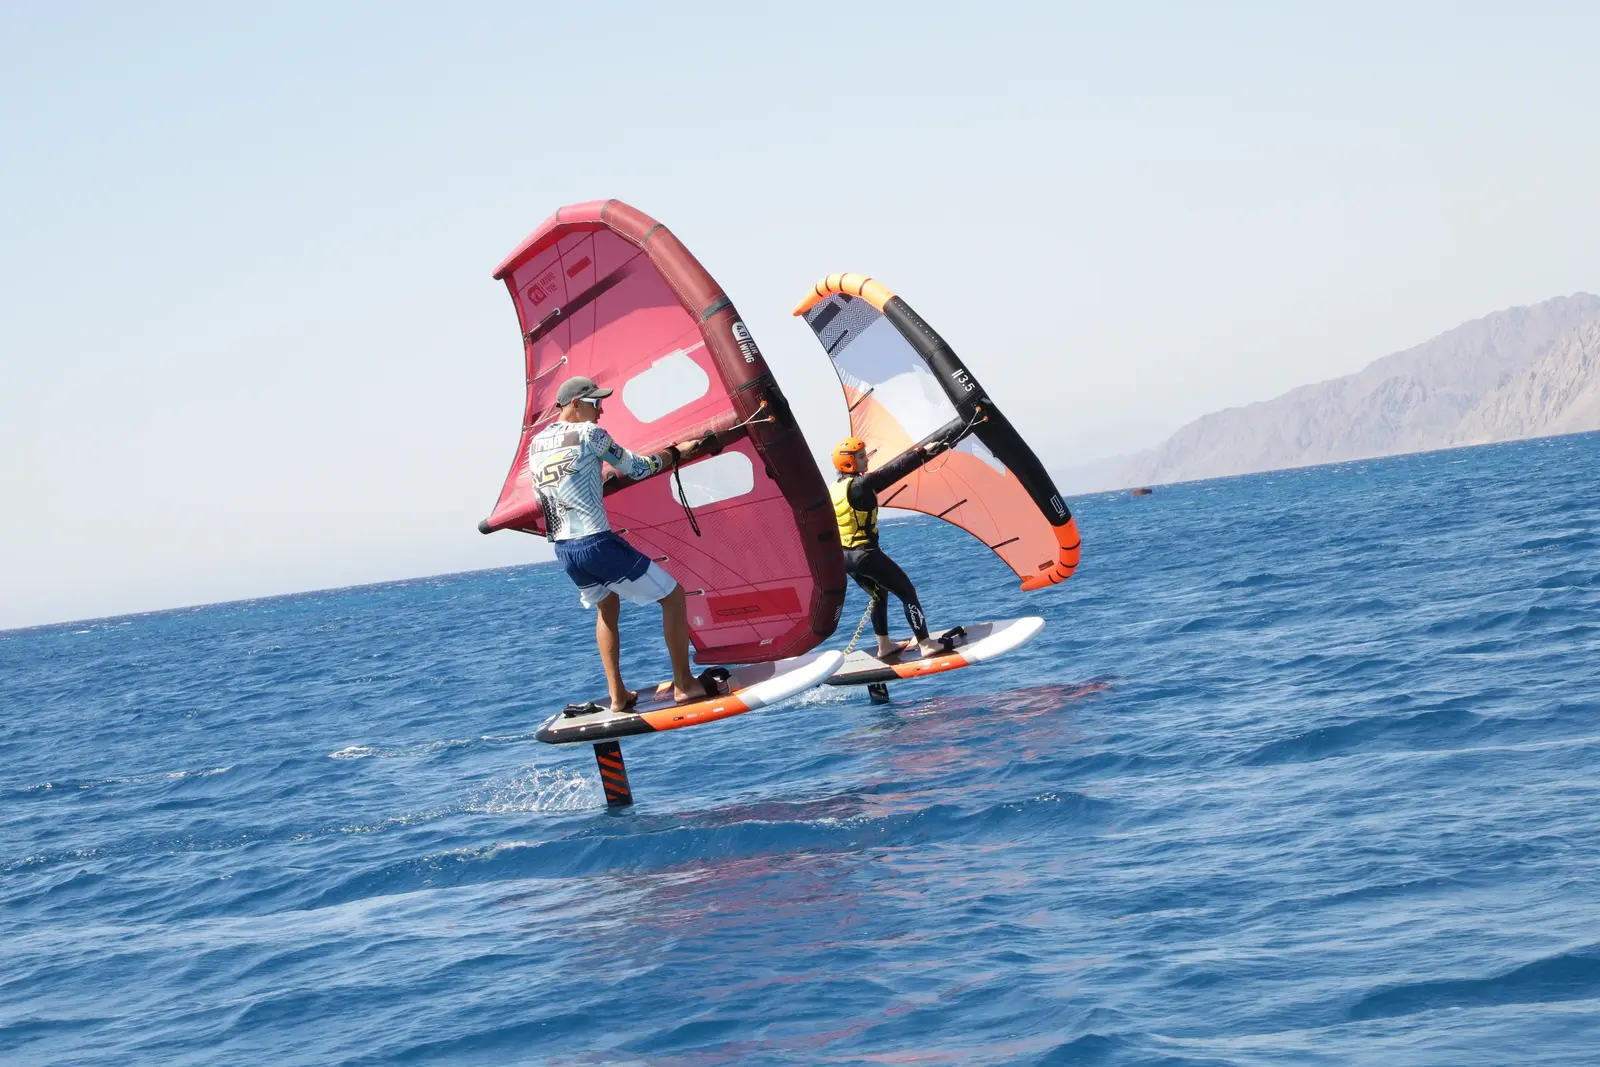
At this step, the priority is to fly. Follow the pull of the wing and focus on staying stable.
Stage 3
Wing + foil together
Downwind practice
At this step, we bring together the two skills you have already learned: wing control and foil control.
You start upwind in the lagoon and ride downwind as far as you can. At the lowest point, a rescue boat picks you up and takes you back to the lagoon or the center. That is why we call it downwind practice.
The number of runs is limited only by your energy. Rescue boats operate as a shuttle throughout the day.
From this step onward, you can continue with an instructor or move to independent practice, depending on your progress.
The main goal
Get onto the foil using the wing’s power and maintain stable flight for as long as possible, progressing from short runs to longer distances.
Focus
— a stable wing position and consistent power;
— getting on foil by shifting weight between the back and front foot;
— relaxed, smooth movement.
One goal at a time: fly first, return later
At this step, your main goal is stable flight. Don’t worry about losing your course — focus on flying.
Don’t worry if you cannot return to the center immediately. That is completely normal. Progress comes in order:
— first, fly steadily downwind;
— then, learn to return upwind.
The more confident and stable your flight becomes, the more naturally you hold the right course. Returning to shore gradually becomes part of your riding, without tension or overthinking every movement.
This approach makes learning effective, fast and comfortable for every student.
Most importantly, you can feel your progress right away with every distance you cover on foil.
Wingfoil lets you enjoy riding from the very beginning, from your first short runs to longer flights.
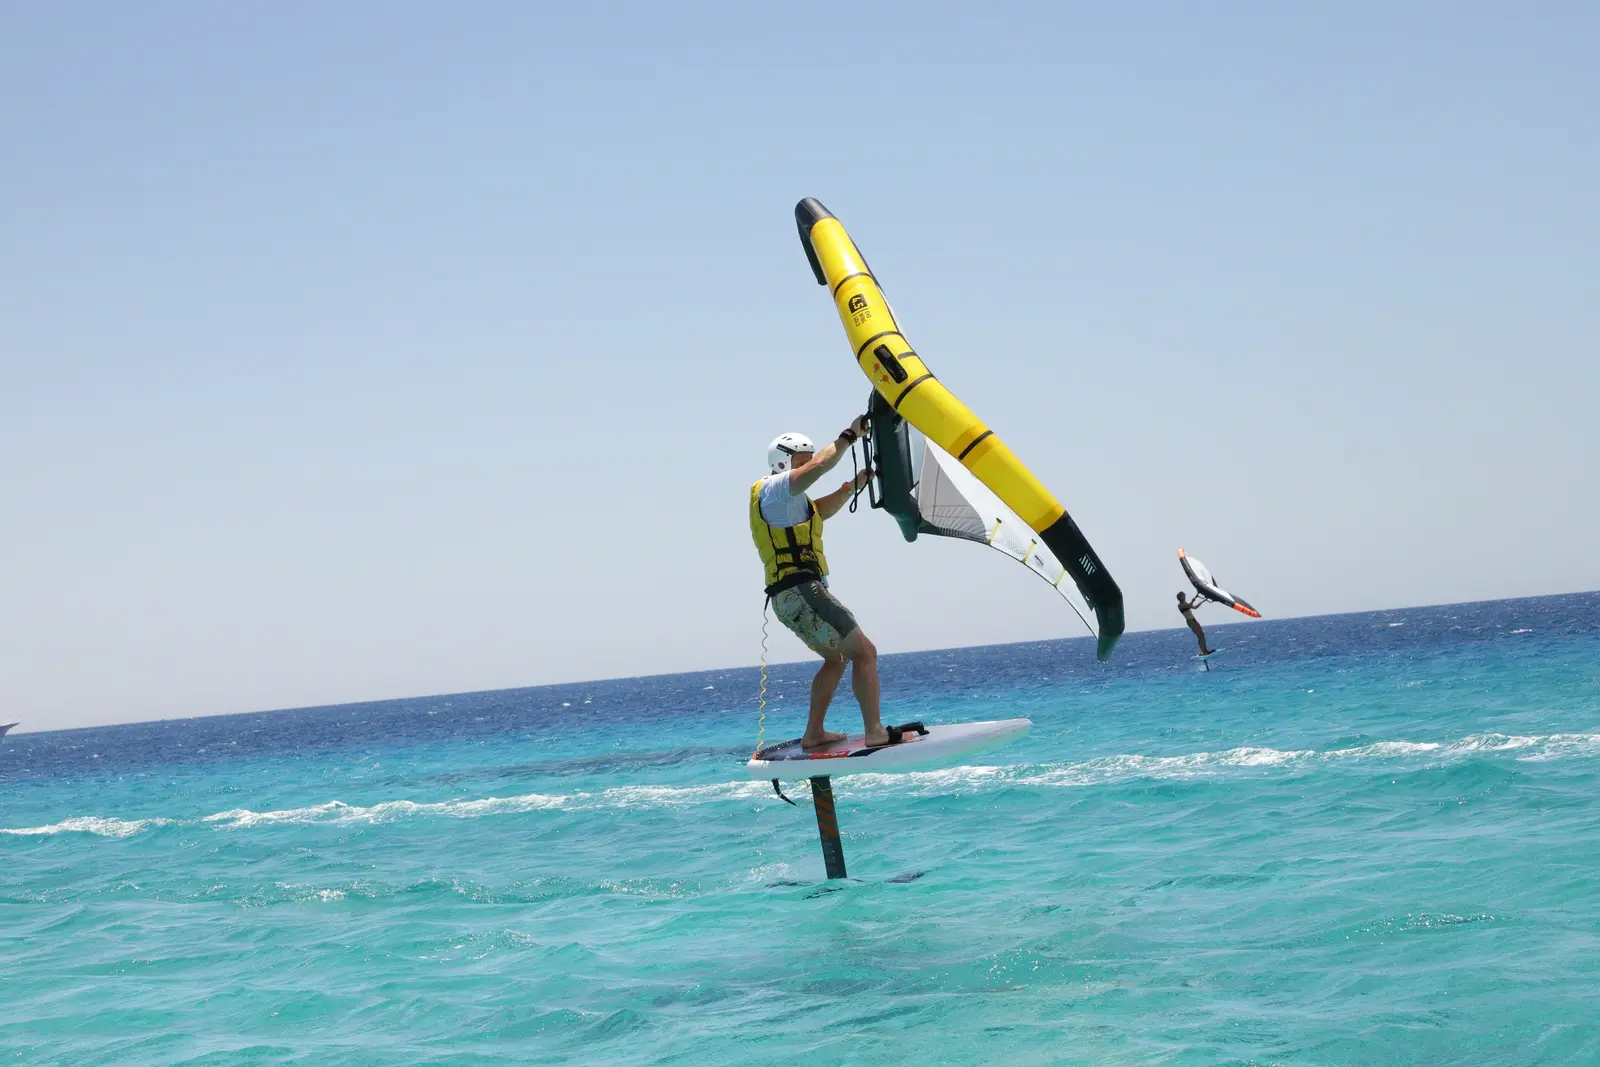
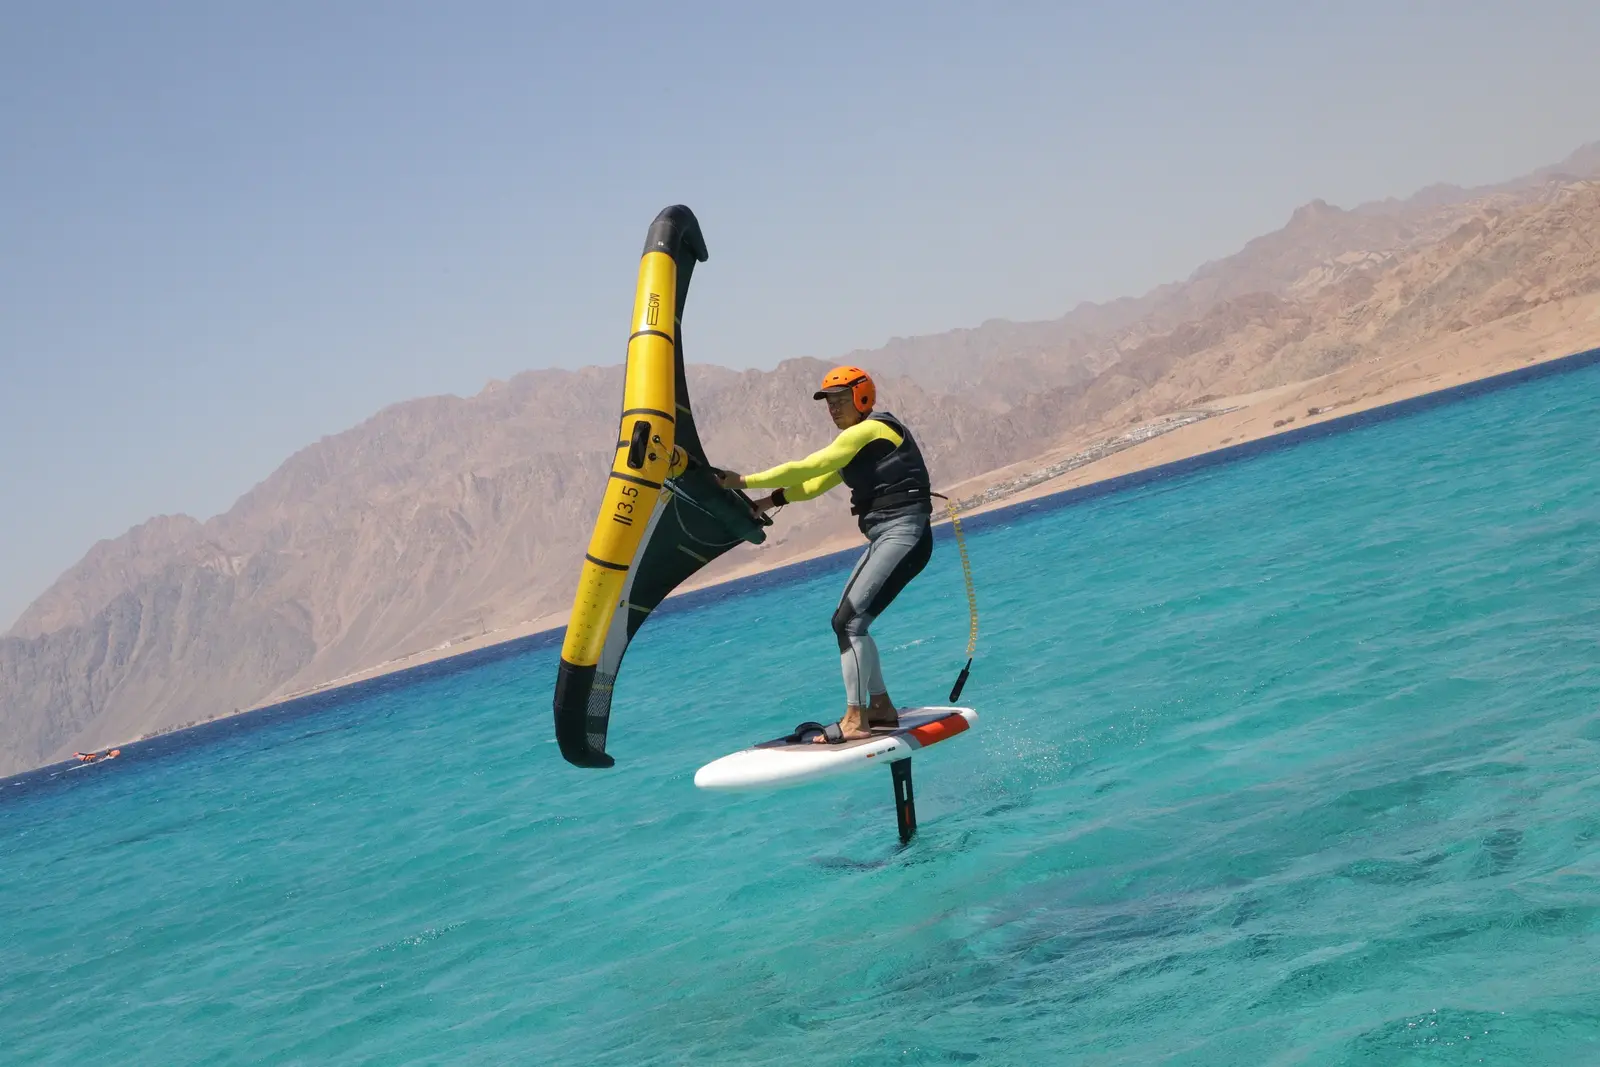
Lesson format
What is included
An instructor, equipment selected for you, a helmet, a buoyancy aid and rescue-boat support. The first lesson lasts one hour: a short briefing on shore followed by practice on the water.
Equipment that helps you learn
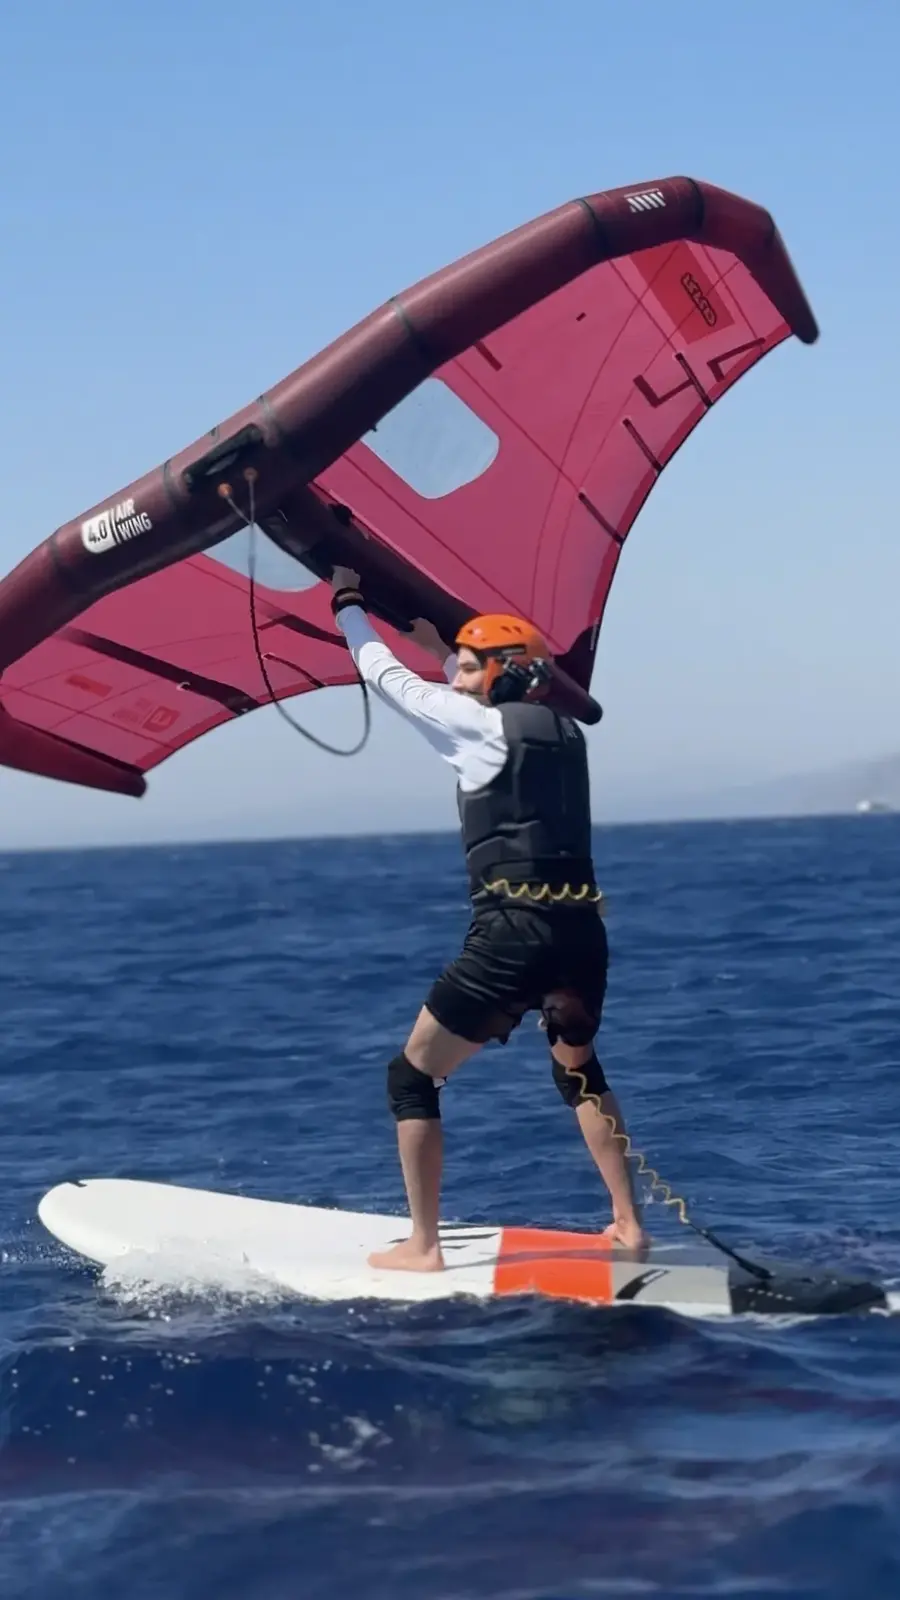
At first, students use the largest board — 140–150 liters. It is wide and very stable, helping your balance adapt comfortably.
Anyone can develop balance, regardless of fitness. For fast, comfortable progress, we gradually move from larger boards to smaller ones: 140, 125, 120, 105 liters and beyond.
Our job is not to make learning harder, but to create conditions where your balance adapts quickly and comfortably at every stage.
A large board is a dependable platform for the first stages. It is less maneuverable, but that is an advantage at the beginning, when stability matters most.
A smaller board is more responsive and maneuverable. It reacts more precisely, making it easier to shift weight between your feet and control the board as it rises onto foil.
As board size decreases, your stance also becomes more natural — about shoulder-width apart. Your movements become freer and more precise.
Light equipment, an easier start
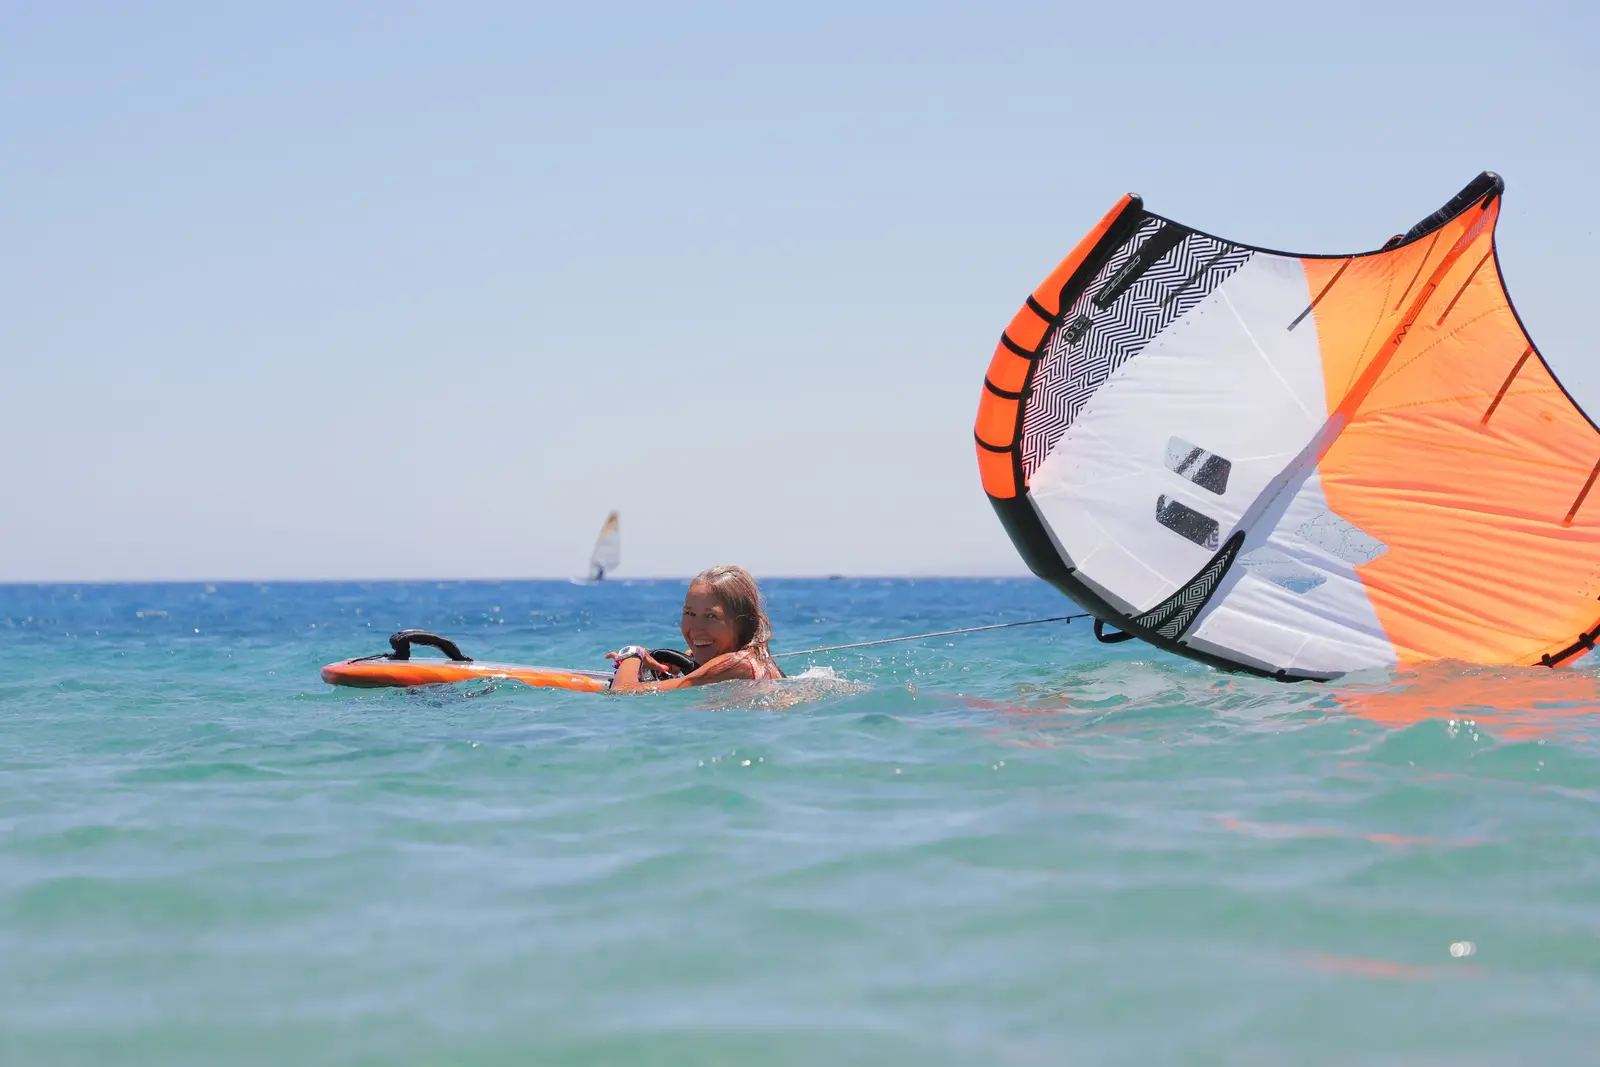
A major advantage of wingfoil is its light equipment. The inflatable wing is not attached to the board and has no metal parts. It is easy to lift from the water and pull back toward you.
It may sound like a small detail, but it makes progress much easier.
Once you know it is easy to get back on the board after a fall, you become less afraid of mistakes. You can try another movement, gain speed, ride further upwind, fly higher or attempt your first turn.
Falling stops being an obstacle. You simply get back up and try again.
Because it is easy to return to the board after a fall, students fear mistakes less and progress faster.
Easy to get up, easy to start again — so you can try more boldly without fearing mistakes.
A few more things to know…
Blue, clean and clear water. Most of the lagoon and training route runs over water where you can clearly see the bottom. It feels comfortable even if dark water makes you uneasy.
Training foils are not sharp. Training foils are large and have a thick profile, so their edges are blunt. Sharper foils are advanced equipment for racing, waves and freeride.
Falling into the water is not scary or painful. It feels much like jumping into a swimming pool. Your instructor explains the correct, simple falling technique before you enter the water.
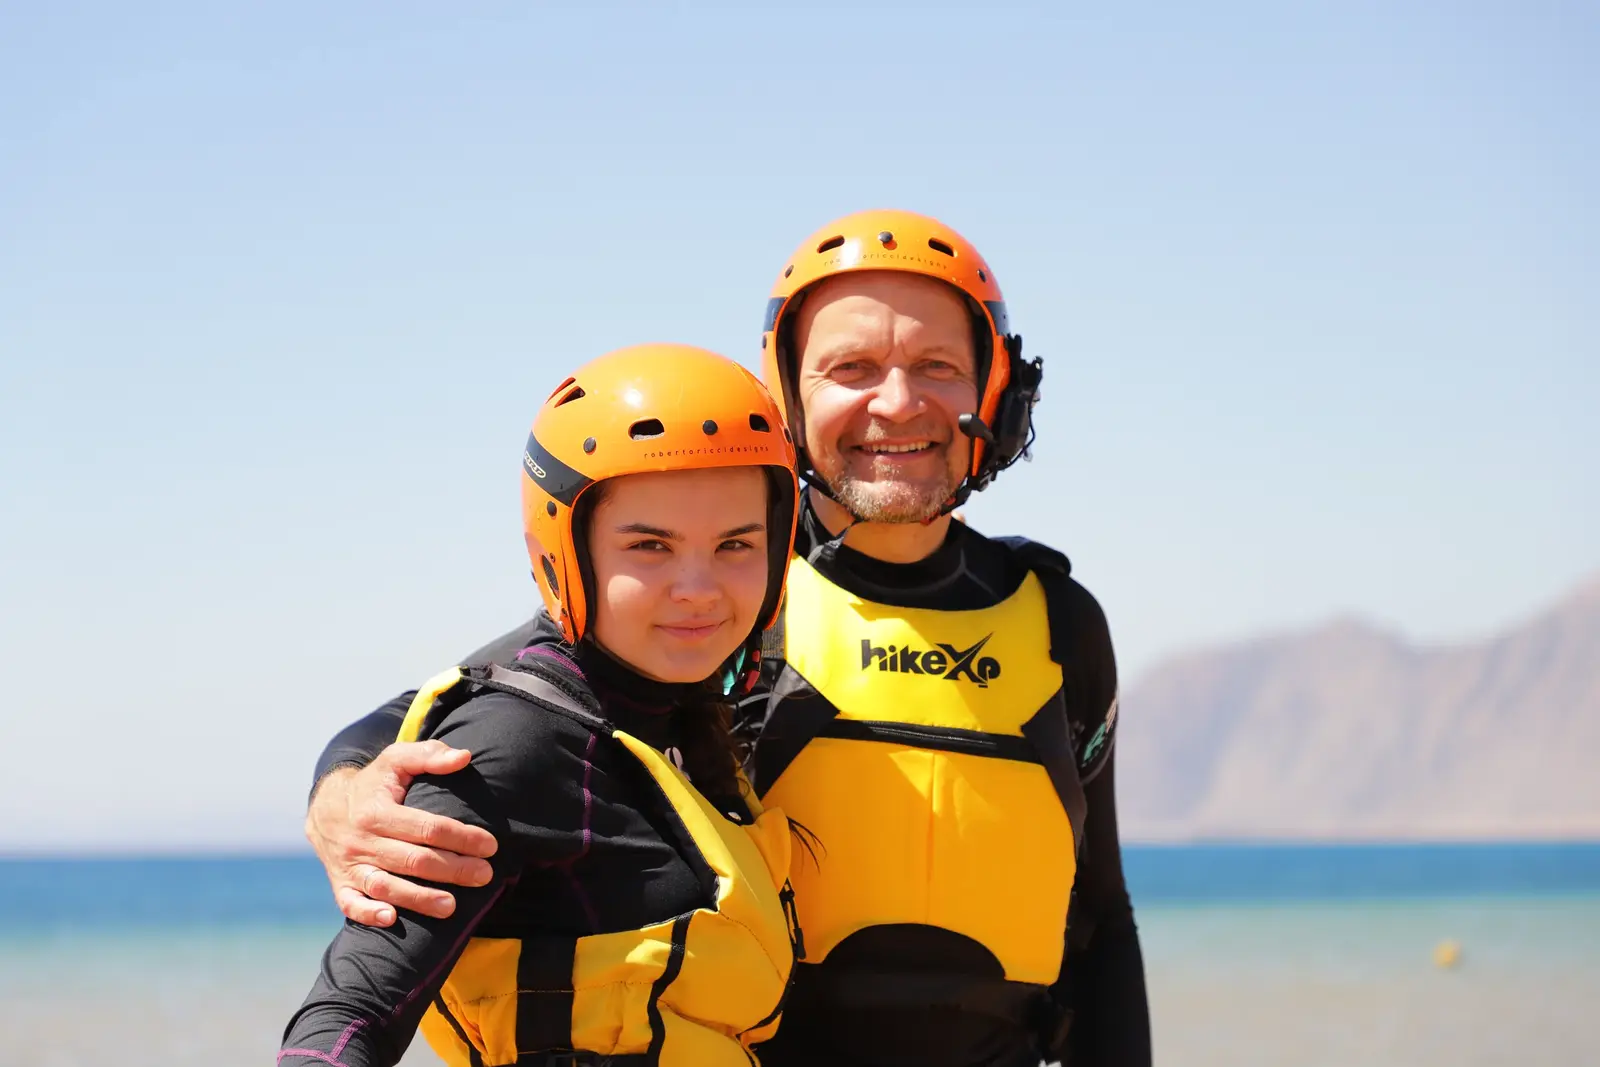
Helmet and buoyancy aid. The school provides a protective helmet and buoyancy aid for lessons.
Rescue-boat support. If you drift farther than planned, that is completely normal. A boat will pick you up. While you wait, you can sit safely on your board and enjoy the view.
Our school is on the right-hand side of the SWISS INN hotel.
Walk toward the sea — you’ll find us on the right.
Instructor answers
Frequently asked questions about wingfoil training
Can I come with no experience?
Yes. Most students start from zero. First you learn wing control on a stable board, then foil balance behind a boat.
How many days until I start flying?
First short flights usually happen on days 3–5, with independent practice around days 5–7. This is a guide, not a promise: progress depends on the wind, lesson frequency and the individual student.
Do I need to be in good physical shape?
No special fitness is required. Good technique is based on balance and relaxed movement, not arm strength.
What safety support is included?
Lessons include a helmet and buoyancy aid, stable training equipment and rescue-boat support on the water.
Why do we start on a SUP and then use a foil behind a boat?
This lets your hands and legs learn their jobs separately. On the SUP, you control power and direction; behind the boat, your legs control flight height. The skills are then much easier to combine.
Where is the school?
Vetratoria is on the beach to the right of Swiss Inn Resort Dahab.
Want to know which lesson format is right for you?
Message an instructor — we’ll suggest the right training plan
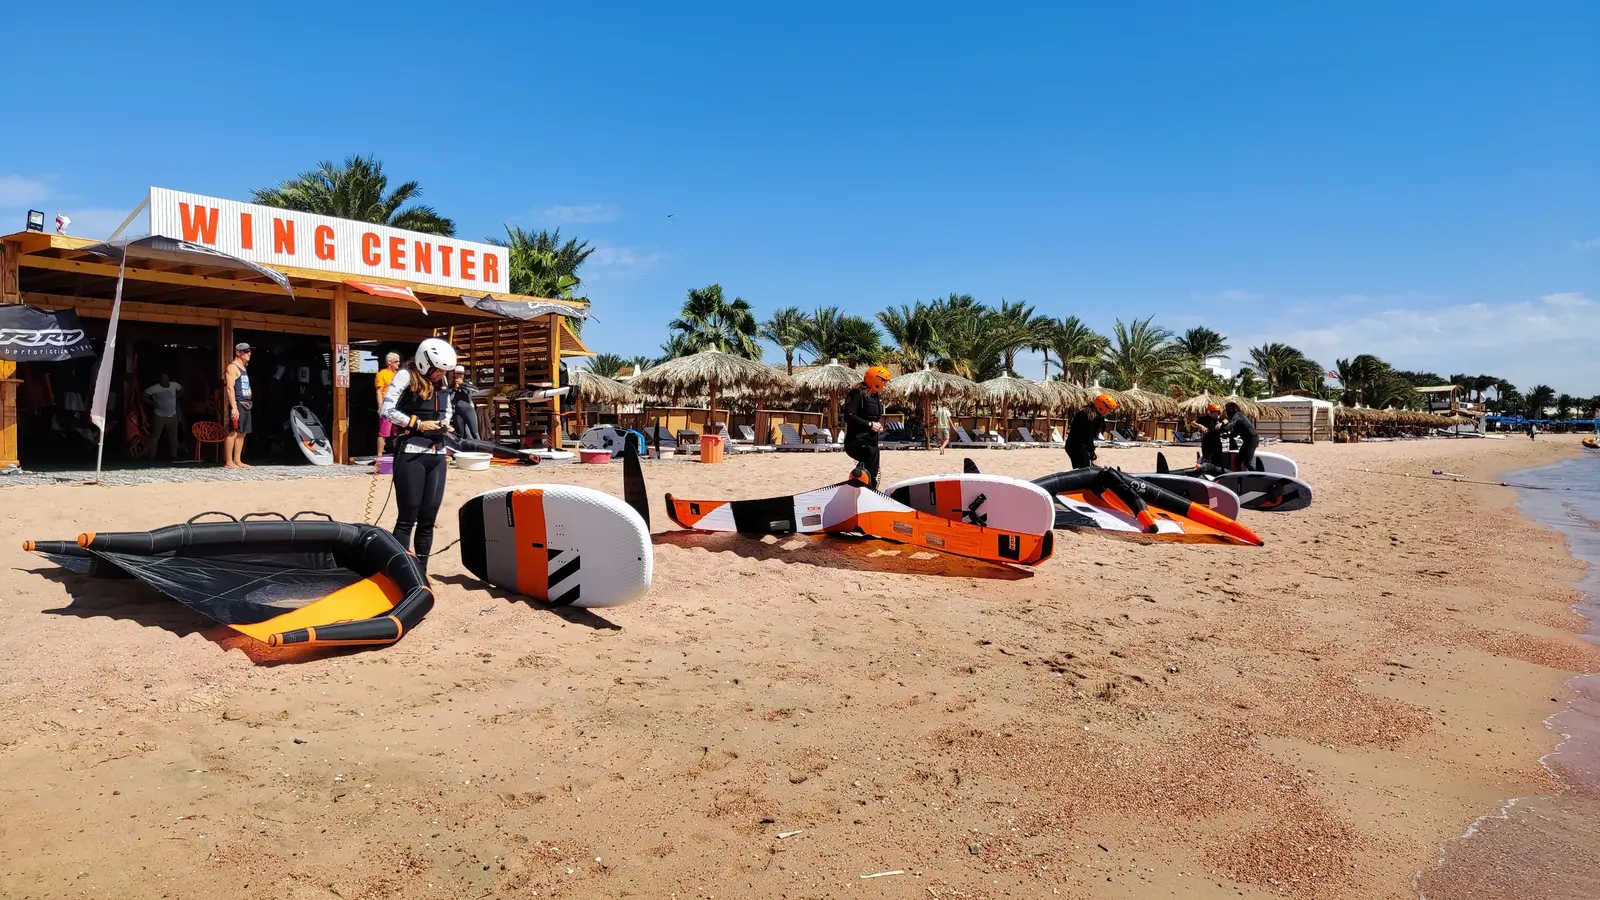
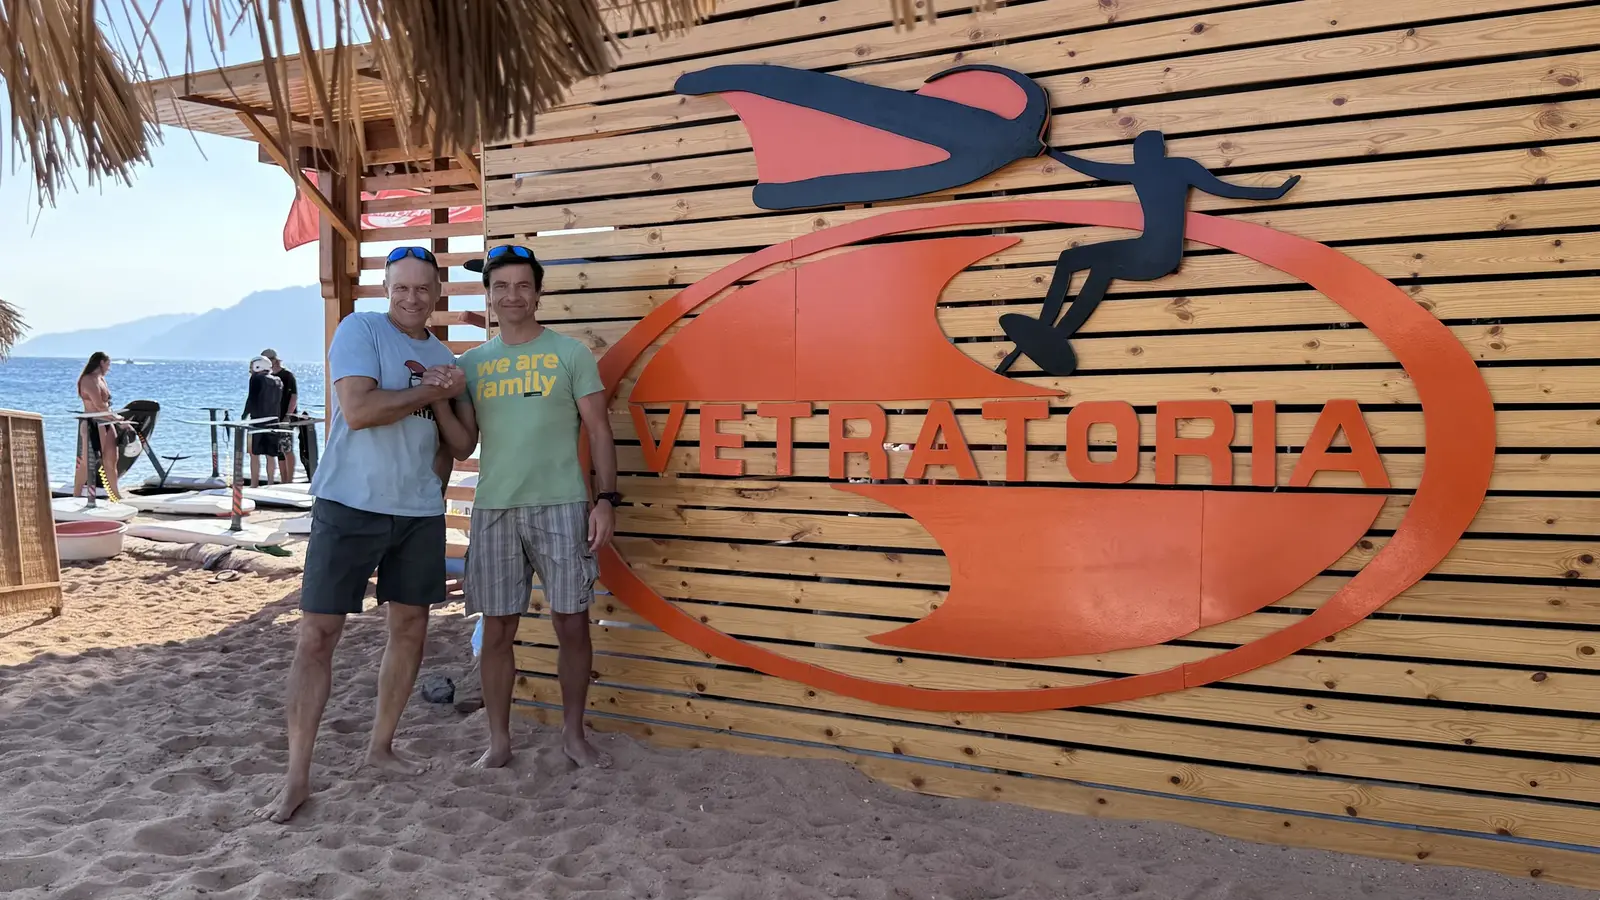

Our school is on the right-hand side of the SWISS INN.
Walk toward the sea — you’ll find us on the right.
Vetratoria Wingfoil School — right here in Dahab